
OR your “ROYAL HINEY”
Today I thought I would forget about the camera and just show you what is going through my mind after I take the image (whew, this will be a quick post) :)
After I save the image to a specific directory on an external hard drive I load it into Lightroom. I use the “Add” image option so I do not physically transfer the file into Lightroom but instead just a small preview image loads and the bulk of the file stays on the external hard drive.
Why do I use this option ?
Because I installed 250 gb SSD’s in all my Mac’s and at that time they were pretty expensive (today you can pick ip 512 gb SSD’s for the same price I paid for the 256 gb drives). You can fill a 250 gb hard drive pretty fast with raw files so instead I leave the images on the external drives which have plenty of capacity.
This is one particular image I will use for the purposes of this post and it is straight out of the camera. In this case I used a Nikon D300 camera at 1000 ISO and the photo was taken at the “Little Italy” section of Boston’s North End.

As you can see this photo was taken at night and with the mixed type of street lighting and floodlights in the photo I really don’t think I should even waste time with trying to get the color balance correct. Also take notice that although this image was only taken at 1000 ISO it was also taken with a camera that is old by todays standards. It was a fantastic high ISO performer back in the day but the grain looks pretty coarse compared to a more modern camera.

This is basically the same image with a little bit tighter cropping applied. For the sake of this post I will save some time and just skip to the next step because sometimes I will sit in front of the computer screen and crop 20 to 30 times and see if I like the image any better.

Being I will not get the color balance correct I converted the image to black and white and I think its starting to look a little better. The lights seem too hot for my liking and I will have to adjust them a little. The lights are pretty close to the edge of the image so I have an idea on how to fix them.

On this version I cropped the image a little bit more and applied a frame to give it a little more finished look. There is still something not right about this image so I will work with it a little more.

This is the final image and the difference between this and the previous image is that I applied a medium vignette (which also took care of the lights also by toning them down a little). I also brought the black levels down ever so slightly and applied the watermark in the lower right of the image.
This will end the “You asked for it” posts and I had a blast writing them. I hope you enjoyed them.
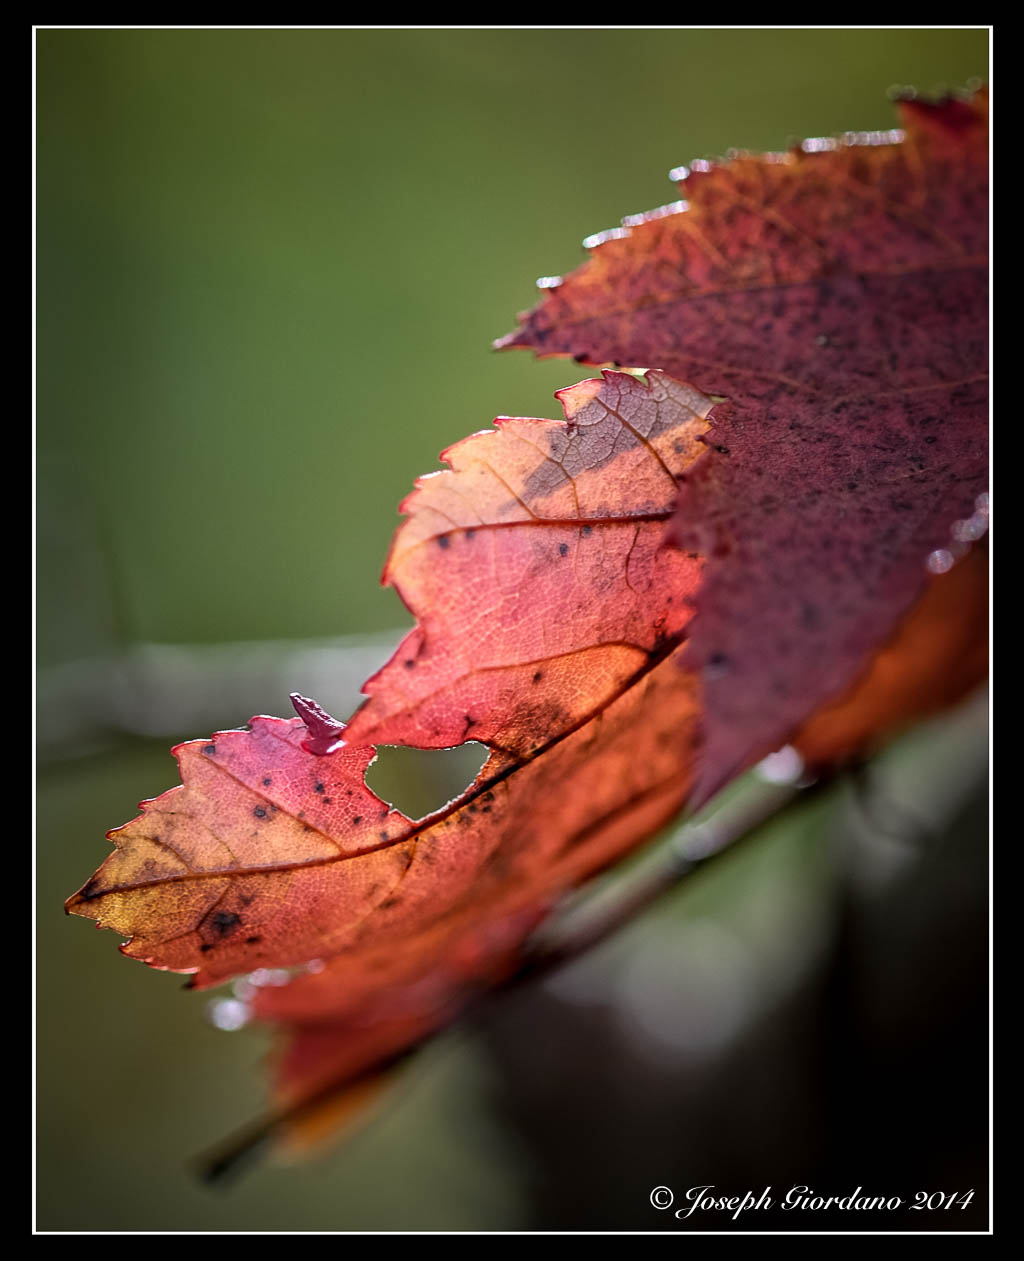
Fujifilm X-T1 and Fujinon XF 60mm f/2.4 R Macro Lens – 1/200 @ f/2.8 – ISO 200
Please visit my new photoblog X-tended Vision
What exactly is ISO ?
Back in the days of film it was called ASA and the lower the number was, the less sensitive to light the emulsion of the film would be. For example Kodachrome 25 was a popular slide film and as the number in it’s name would indicate the ASA was 25. Kodachrome was a great all purpose slide film for landscapes and general purpose photography, but it was not something you would want to use for a sporting event where you would want to capture action. Another popular film that I loved using was Kodak Tri-X which was rated at 400 ASA. This was a great black and white film that you would use for dimly lit stage shows or concerts. You would also be able to “push” process this film where you would shoot the film at 800 ASA or higher in your camera and manipulate the processing time and temperature of the chemicals. When this film was “push” processed you would see a increase in the grain of the film where it would give the printed photo a coarse look or a more gritty kind of look.
That was then and this is now, but we have still have some similarities when talking about ISO. When using digital camera at is default base ISO (normally in the 100 to 200 range) your image quality will be at its best, then it will slowly degrade as you raise the ISO. Modern digital cameras are much better at higher ISO settings than cameras produced just a few years ago. I remember when I owned a Nikon D2X camera it produced some of the most wonderful images at its base ISO, but raising the ISO to 800 would degrade the image quality greatly. The D2X was a very expensive professional camera but when Nikon introduced the D300 it blew the D2X away when it came to higher ISO performance at about 1/3 the price. Then Nikon introduced the D7000 about 2 years later and blew the D300 away with high ISO performance at about 2/3rd of the price. As digital technology has evolved high ISO performance has also improved greatly.
I no longer use Nikons as most of you already know, I now use Fujifilm X cameras which are well known for their high ISO performance. I am not discouraging people from using Nikon or any other brand of camera, I am still very fond of the Nikon products I once used but for me I find the “user experience” combined with the high ISO performance of the X-T1’s I am using now to be a much better value for my money. I am not saying Nikon does not have great high ISO performance so please don’t send comments stating the Nikons you own have great high ISO performance, I already know this. I am merely saying in my opinion when you factor cost into the equation I think the Fuji’s give you more bang for the buck.
I guess I should take a moment to explain “user experience” a little more so people don’t think I am a more “flaky” than I already am. I learned photography on film cameras which had shutter speed dials on the top of the camera and aperture rings on the lenses not command dials. I tend to favor separate dials for ISO, shutter speed and aperture rings because they feel like they are second nature to me. There is nothing wrong with command dials on other brands of cameras (the Fuji X-T1 also has front command dials but I elect not to use them). This is merely a case of “to each their own”.
The grain in faster film could be compared to the color noise or artifacts produced by a sensor in a digital camera operating above its base ISO. In the following photographs I will try to show you the differences in images shot at higher ISO’s.
All images were shot with a Fuji X-T1 and XF 60mm f/2.4 R Macro lens set to f/4.0 and camera mounted to a tripod. The only variable is shutter speed which changed as the ISO increased. All images are unmodified jpeg files.
Here is the first image shot at ISO 200

Nothing out of the ordinary in this image as expected. White balance is good and colors are accurate. ISO 200 is default for the X-T1
This image was shot at ISO 400

Still great performance at this ISO
This image was shot at 800 ISO
Still great performance at this ISO nothing that cannot be adjusted in Lightroom.
This image was shot at 1600 ISO

Still damn good performance at this ISO but we start to see less saturated colors. Still can be adjusted easy in Lightroom.
This image was shot at 3200 ISO

Still very good performance but in addition to colors being less saturated the small text appears to be less sharp.
This image was shot at 6400 ISO

Still a pretty good performance but now we start to see some grain or a little color noise affecting sharpness.
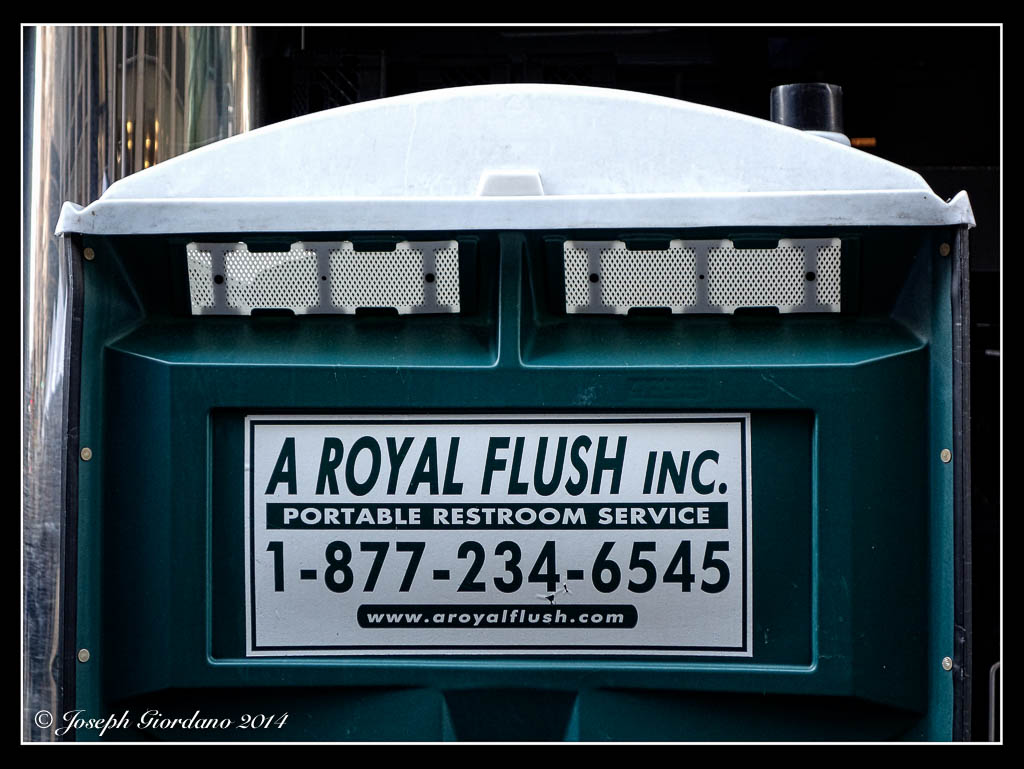
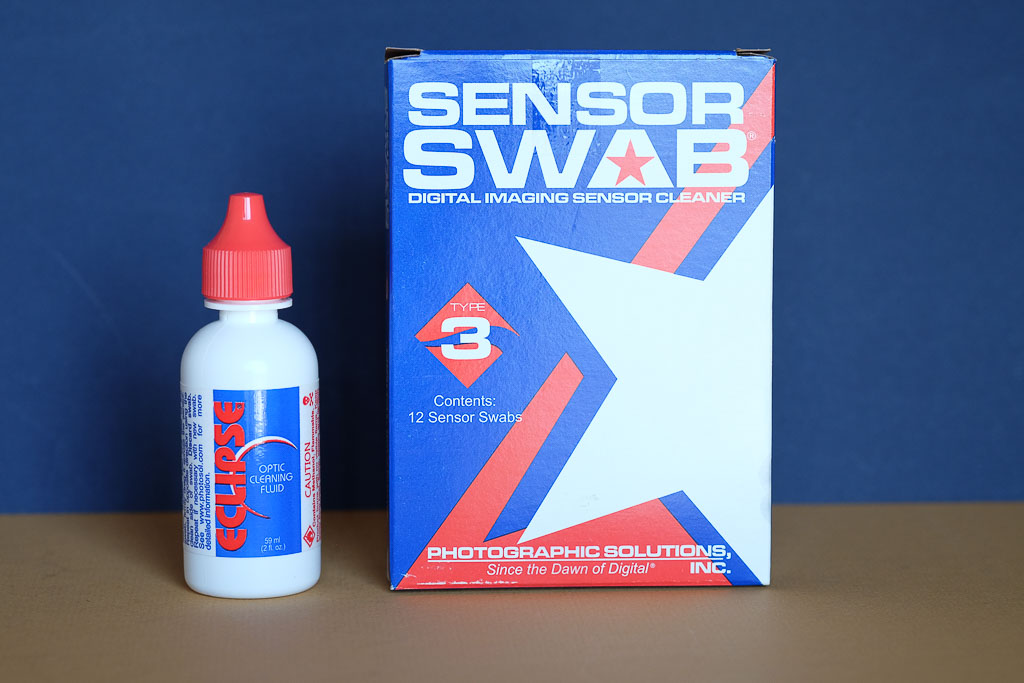
This image was shot at 12800 ISO

This is still respectable performance but the sharpness is definilty being affected as evidenced by the small text and the mark to the left of the Eclipse sensor cleaning fluid on the blue background.
This image was shot at 25600 ISO

This is still not a bad image if you really needed this ISO to grab the shot but sharpness and noise is really starting to take its toll.
Now I probably shot myself in the foot by using a camera with the high ISO performance such as the X-T1 but I hope you will see the difference. My original intent was to shoot this series of images with the Sony RX100 but as usual I waited until the last minute to write this post and someone bought my RX100 and the replacement Fuji X30 did not arrive yet.
I would suggest for all who are reading to run this same test with your own cameras. Set your camera to aperture priority, pick an aperture and start at your cameras default ISO. With each image double your ISO and see how far you can go before your images are unacceptable when viewed on a computer screen. Remember to use available light and a tripod. Testing the ISO performance of you camera can go a long way in telling you its limitations and if you do use the auto ISO feature on your camera you will know the maximum you should set it to for acceptable image quality.
Thanks for sticking with me and reading my post.

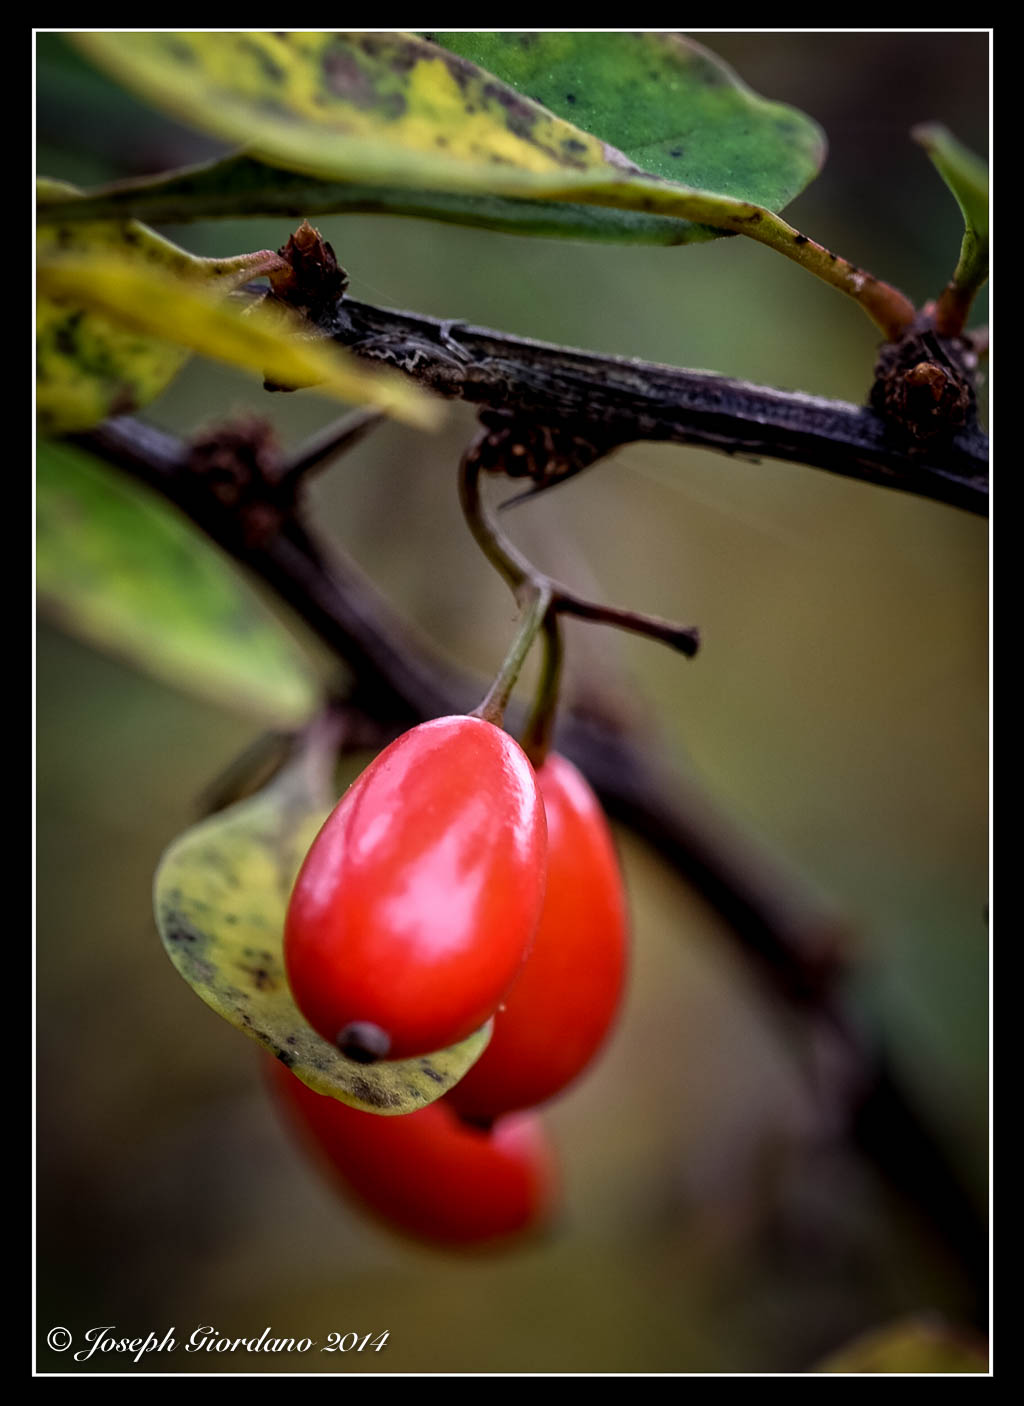
Fujifilm X-T1 and Fujinon XF 60mm f/2.4 R Macro Lens – 1/680 @ f/2.8 – ISO 200

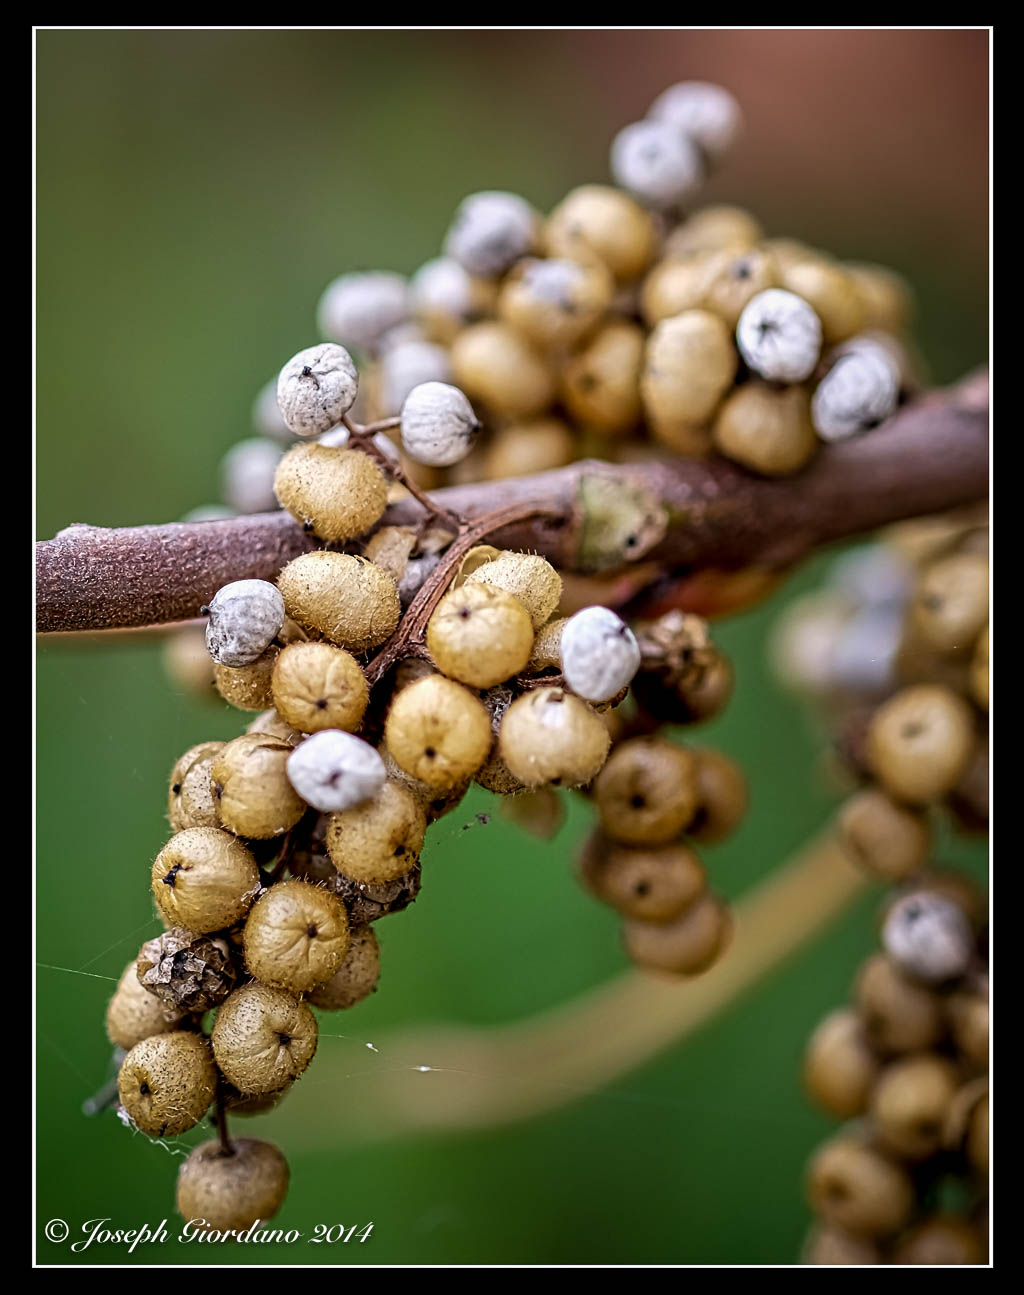
Fujifilm X-T1 and Fujinon XF 60mm f/2.4 R Macro Lens – 1/90 @ f/5.6 – ISO 200
Belmont Lake State Park was purchased in 1936 and was the former estate of August Belmont. The Belmont estate was formerly used as a farm for thoroughbred race horses. During the War of 1812 the US captured a British war ship after a battle on the Great Lakes. These cannons we taken and years later placed in front of the Belmont mansion
One of the most useful items to have is a great tripod and most of you readers probably have one. If you are still in the market for a tripod I have a couple of suggestions but they don’t come cheap. You can easily spend almost as much as you paid for your camera for a tripod and head. Most people do not bother bringing their tripod with them because they complain it is too heavy to lug around. I agree tripods are heavy but the answer is not to buy a lightweight tripod that sacrifices stability. Carbon fiber tripods are lightweight but also expensive. Remember “you get what you pay for” and there is no way around that..
The best tripods most of the time will have three section legs. There are exceptions of course and some tripods with four section legs are stable. The problem with four section legs is more joints and locks which are weaker than solid sections. Usually by the time you get down to the fourth section the diameter of the tubing is less than you would want for optimum stability.
A good tripod will also have multi position legs for uneven terrain and also for getting lower to the ground for close up or macro work.

This is an example of a tripod with legs that will spread out to get you closer to the ground.
In addition to legs that will get you down to ground level you should look for a tripod that has some sort of capibility to have the center column convert to the horizontal position which is handy for macro work.
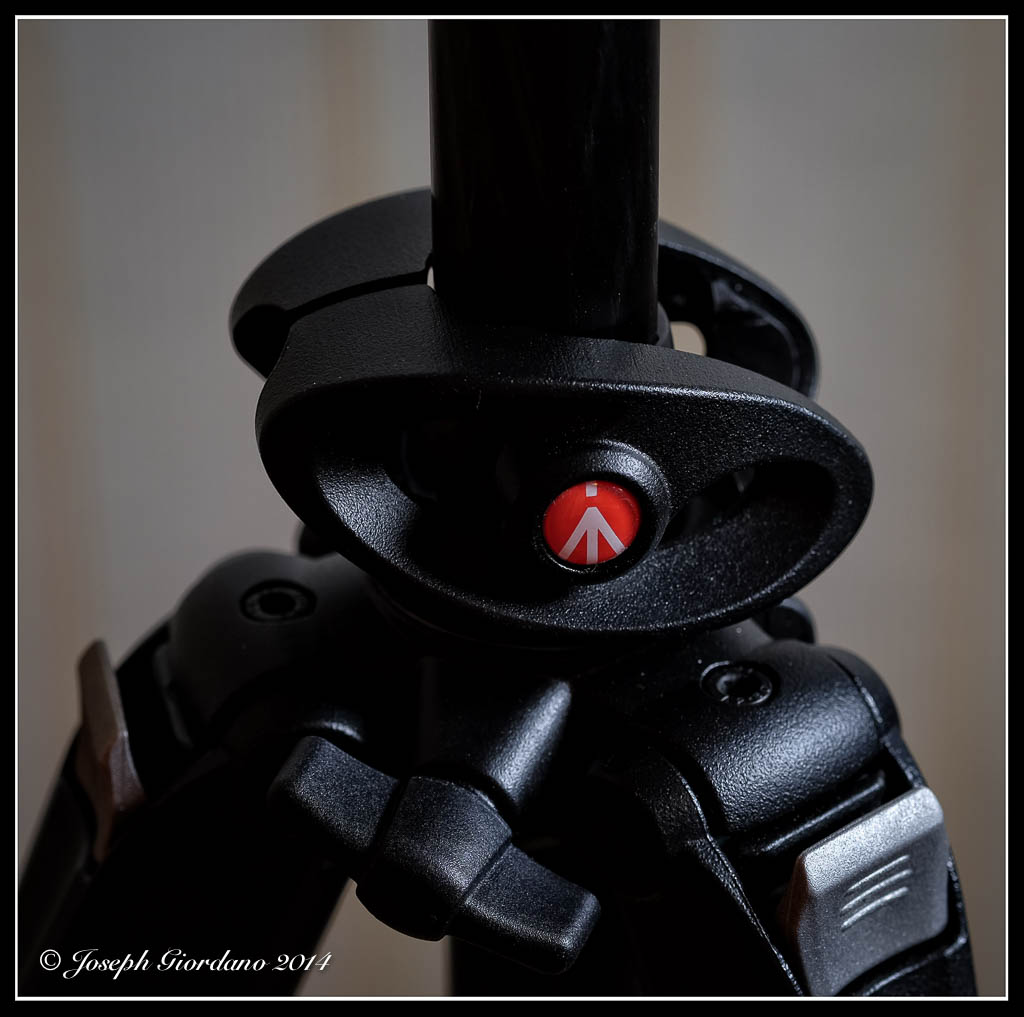
This is an example of the center column in a vertical position.
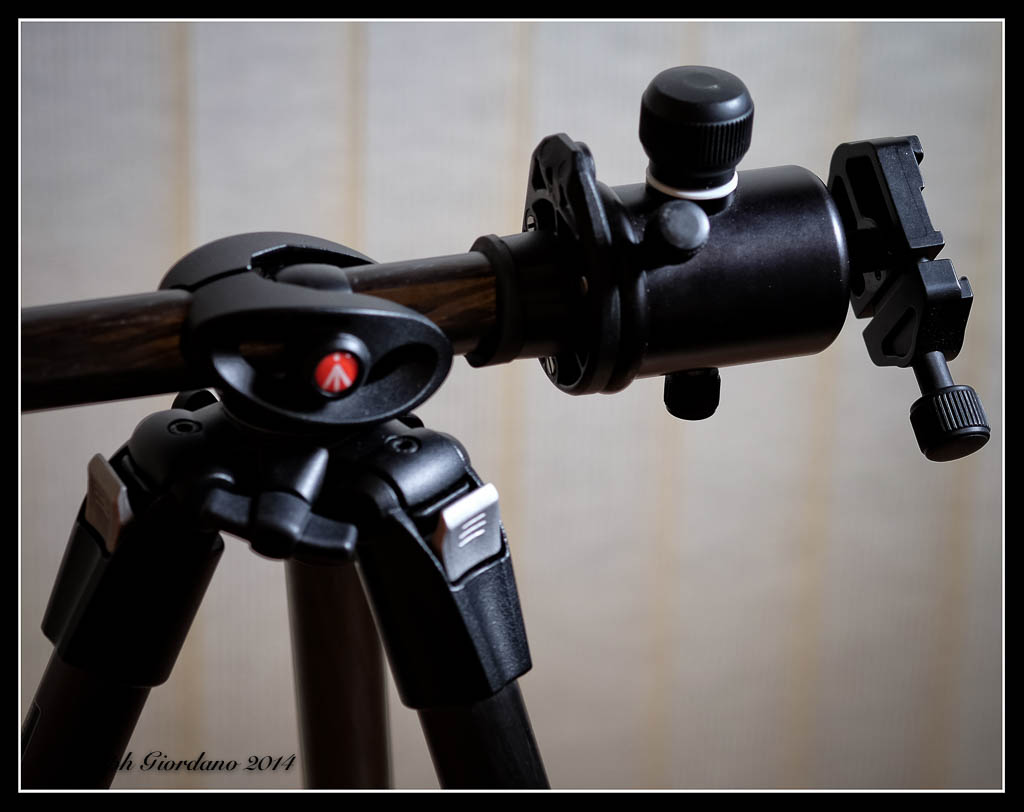
This is the same tripod with the column locked in a horizontal position.
The next thing you should consider is a head for your tripod. There are many different styles of heads including pistol grips, ball heads to name a few. My preference is a ball head.
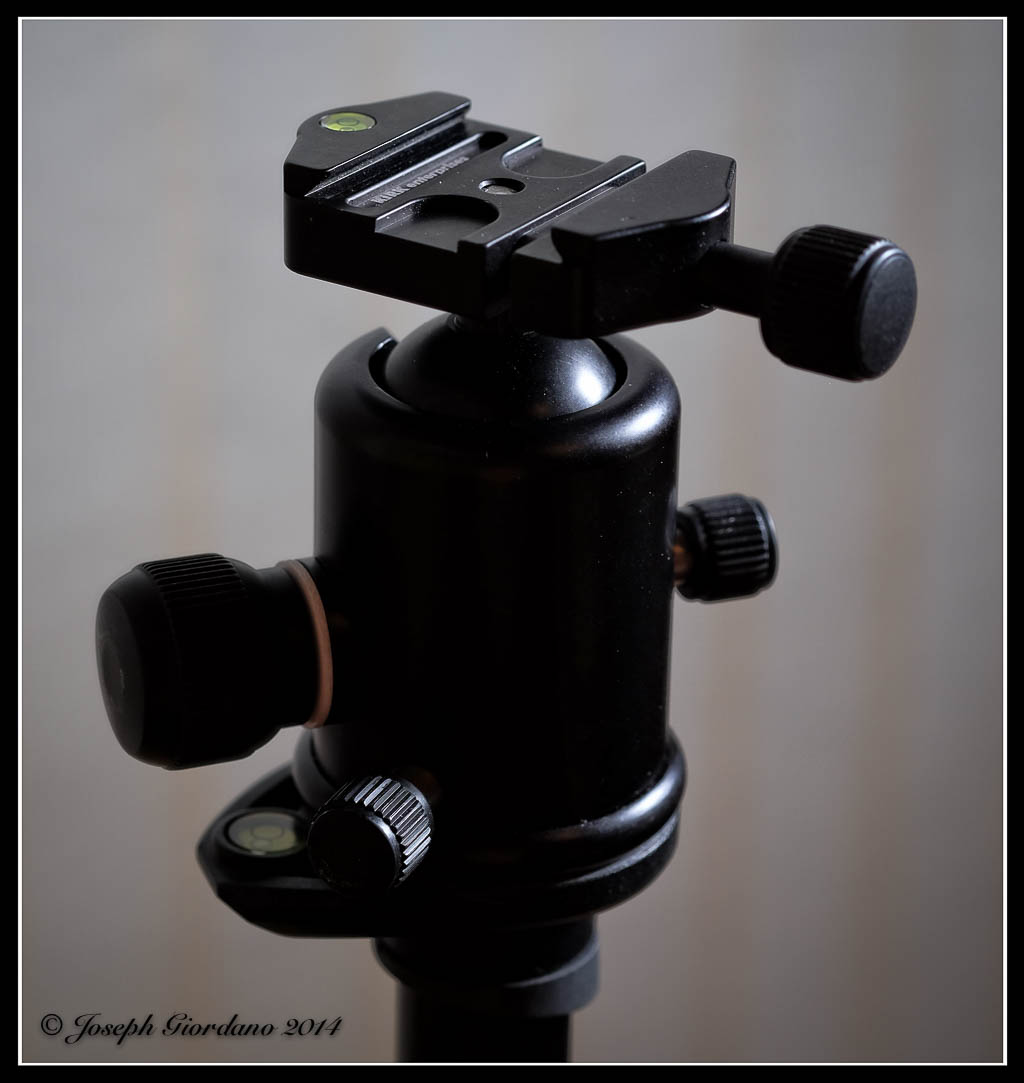
This is an example of a Kirk BH-3 ballhead with an Arca-Swiss style quick release (dovetail).
If you do opt for this type of quick release tripod head you will have to purchase a Arca-Swiss compatible quick release plate. Companies like Kirk, Really Right Stuff, Acratech and Markins manufacture these plates. (Any Arca-Swiss style quick release plate should fit other manufacturers Arca-Swiss heads).
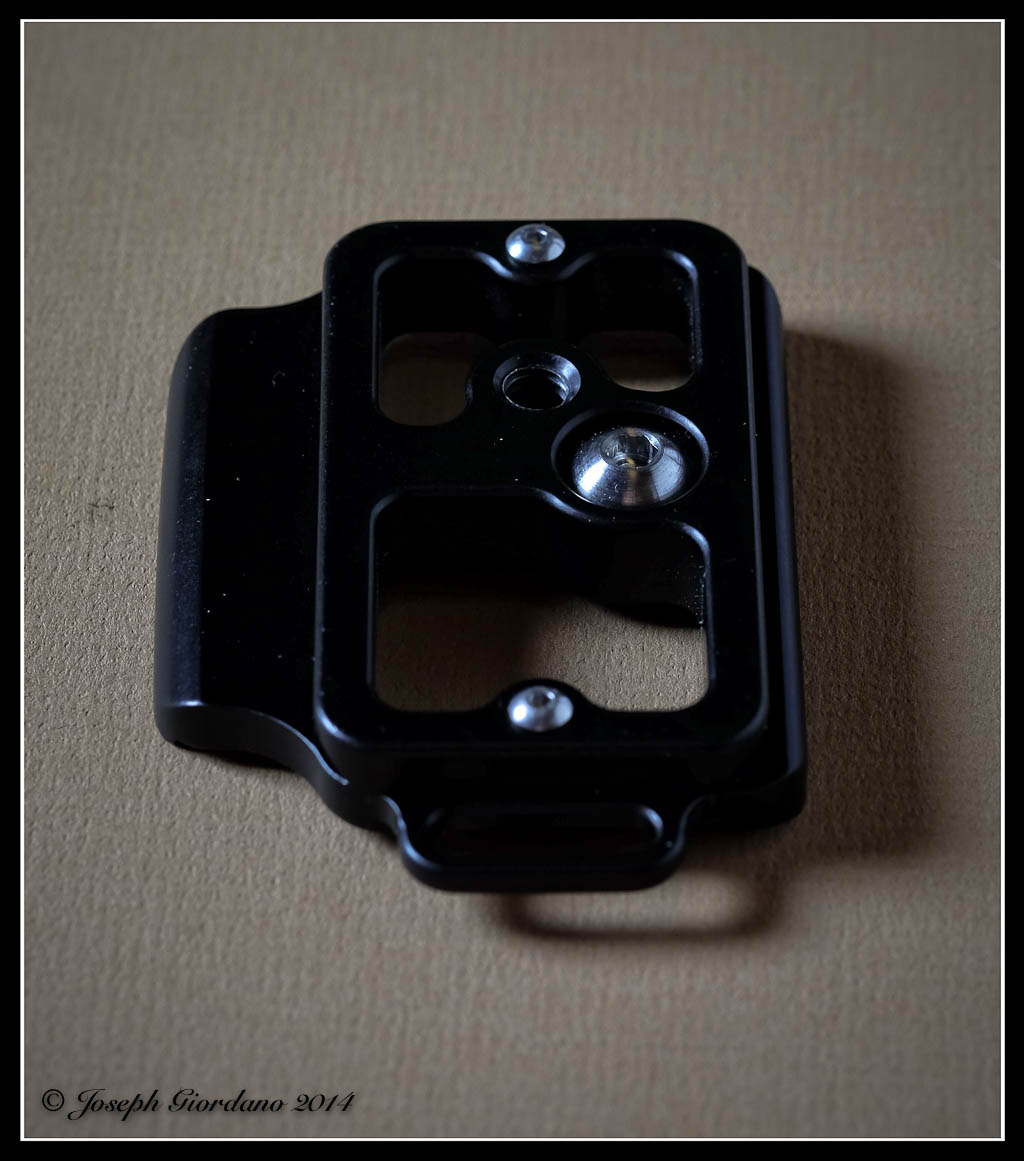
This is an example of an Arca-Swiss plate made by Kirk to fit the Nikon D610
Manfrotto Super Clamp
This clamp is a very sturdy clamp and is equipped with removable plastic jaw inserts to adapt to any shape you can think of. It uses standard size studs for attaching items (sorry Emilio I didn’t mean you).
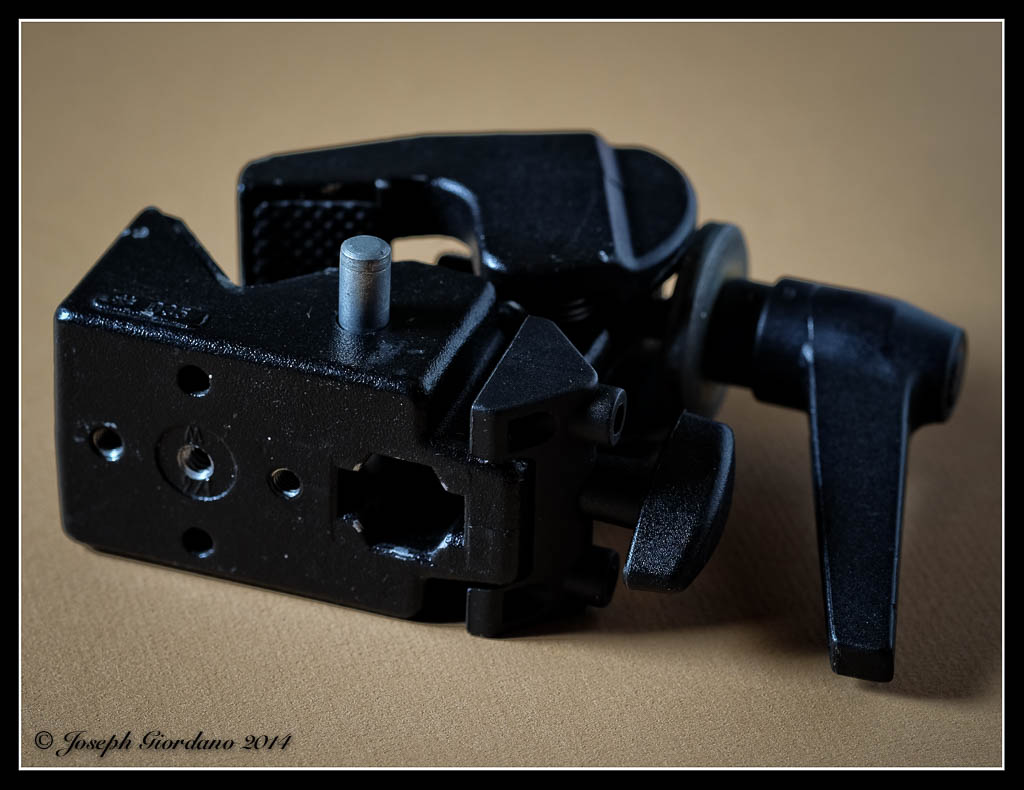
This is an example of a Super Clamp and let me tell you these things are strong. The hole to the right is for standard sized studs.
Manfrotto Magic Arm
The Manfrotto magic arm is a great solution for an all purpose articulating arm. I have used this arm for holding my Nikon Speedlights in combination with the Manfrotto Super Clamp. It can be attached practically anywhere, doors, table tops, pipes and any square, round or in between shape. The Magic arm can also be used clamped to your tripod legs if your tripod is not equipped with multi position legs or ground level legs to aid in your macro work.

This is an example of a Magic Arm. the one large knob controls both of the ball type connections and the swivel connector. You loosen the knob articulate the arm to any position then tighten the knob and it is locked.
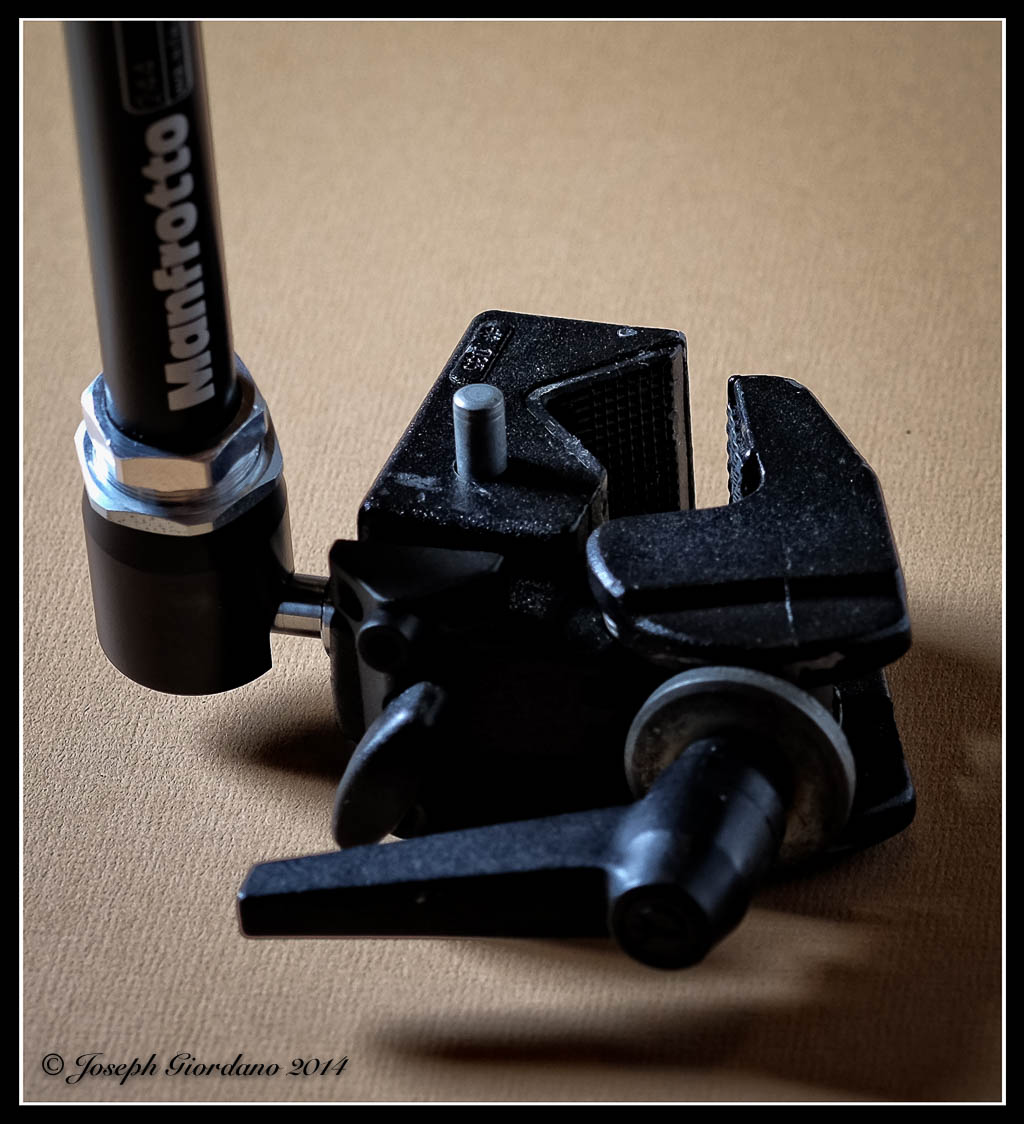
This is an example of the Magic Arm connected to the Super Clamp.
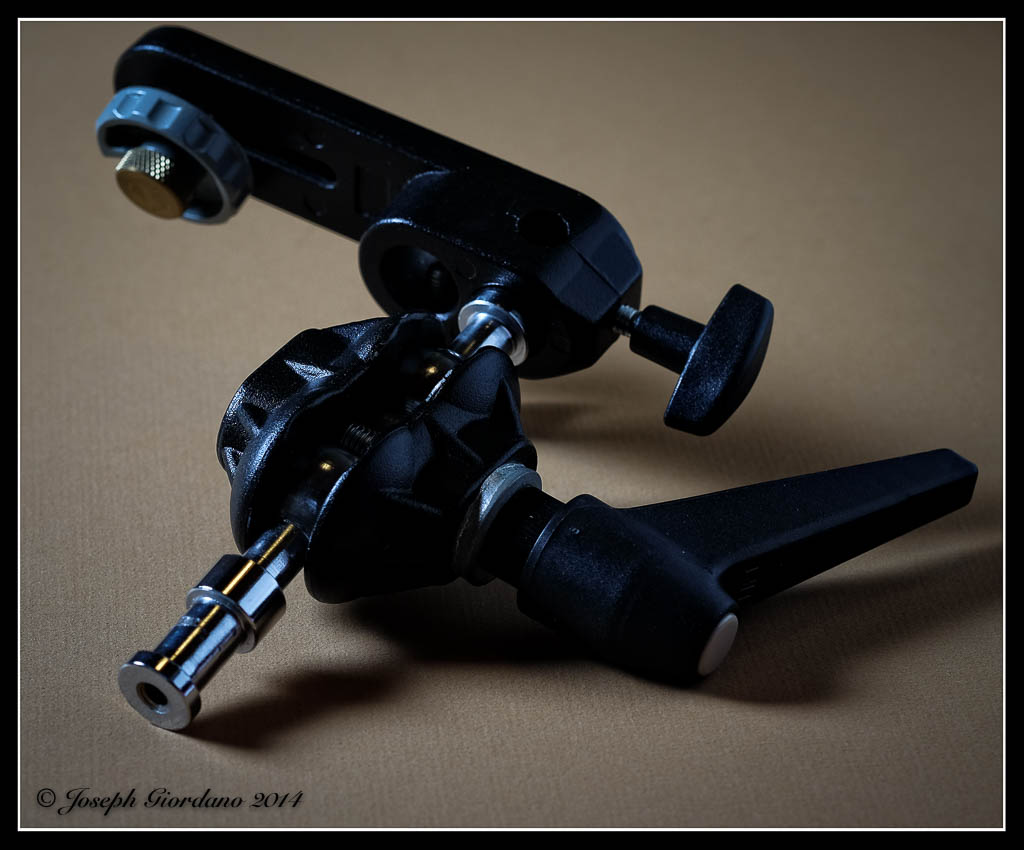
This is an example of a camera platform that can be removed from the double ball setup and mounted to the other end of the magic arm.
Frio
This is probably the best invention I have seen in quite some time. Most Speedlights come with stands with a tripod thread or (1/4 x 20) underneath for attaching to a tripod or lightstand. Unfortunately the manufacturers have gotten cheap and figured out they can save two and a half cents if they eliminate the brass threaded inset in these stands and just thread the plastic stands themselves. I don’t have to tell you how long those plastic threads last with regular use. The Frio is a neat little plastic “doohickey” with a brass threaded insert and a foolproof locking system that will fit any flash even the thicker Nikon SB-900 and SB-910 feet.
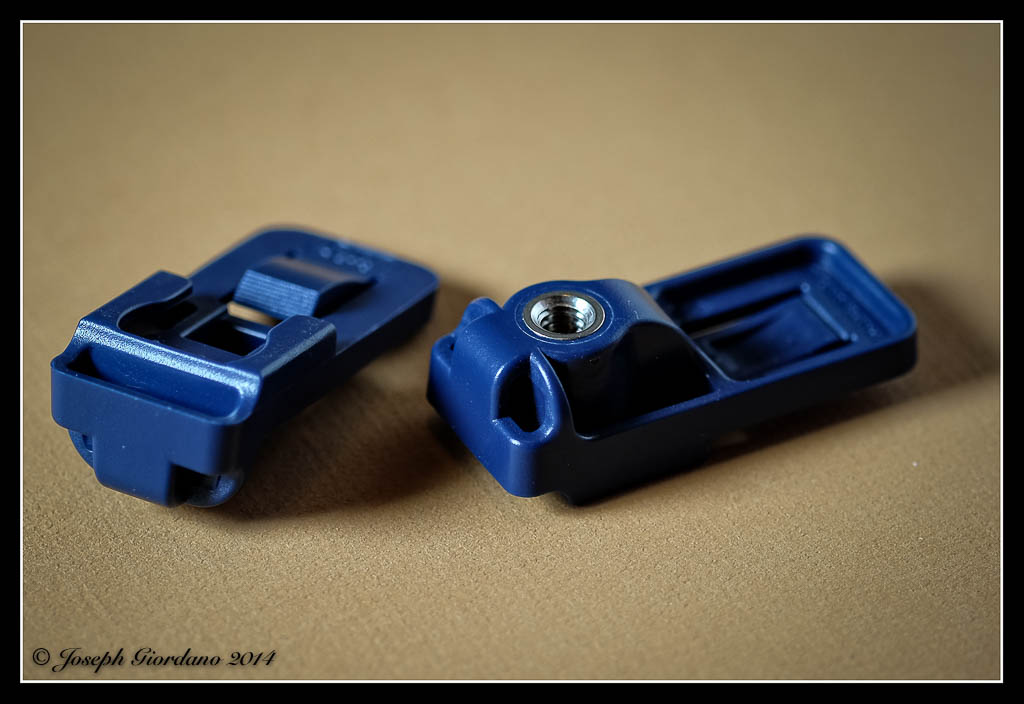
This is an example of a Frio (boy do I wish I had thought of inventing this). These threads will not strip like the plastic threads on some flash stands.
Speed Straps
These are Velcro straps with a rubber coating on the inside. Instead of using adhesive Velcro which is usually supplied with accessories you just wrap this around and tighten the strap and you don’t have to use a pneumatic chipping hammer to remove the adhesive residue from your flash.

This is an example of a speed strap. Just some Velcro with a rubber coating on the inside.
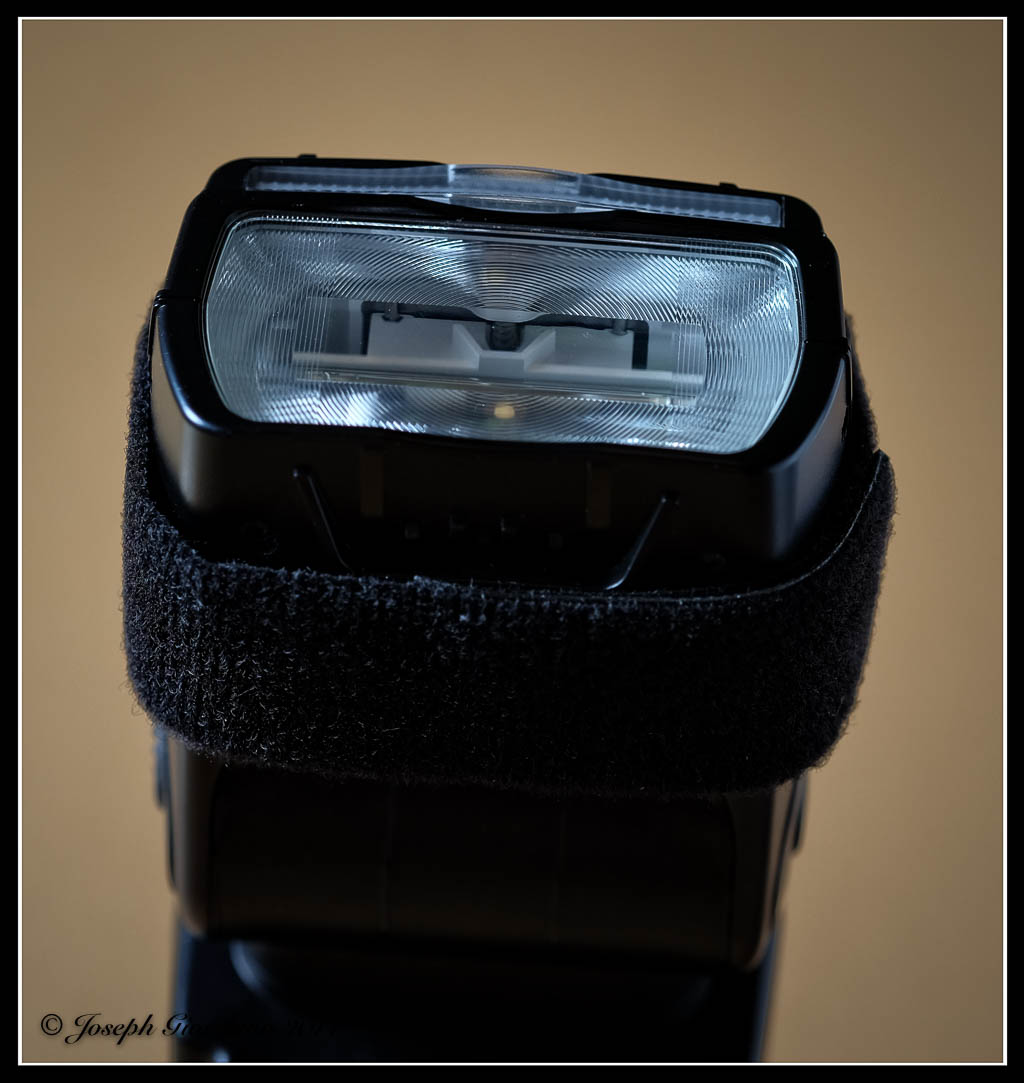
The speed strap is wrapped around your flash unit instead of using Velcro with adhesive.
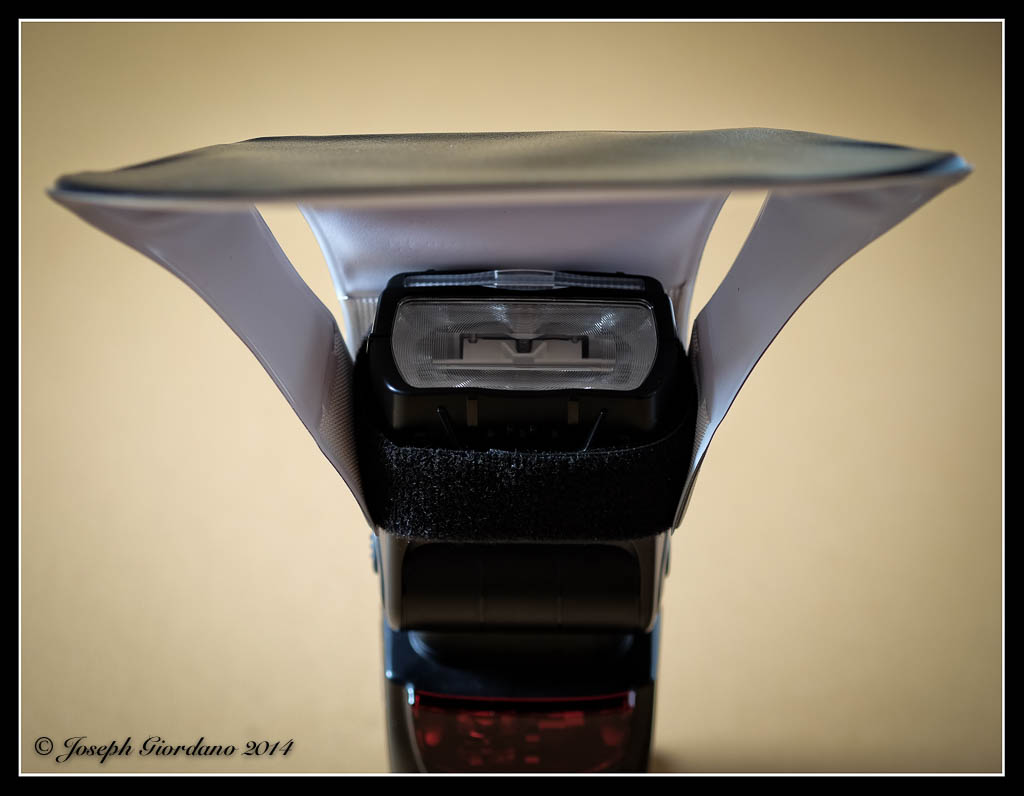
Once the speed strap is on the flash you can attach diffusers such as this Lumi-Quest pocket bounce diffuser or shoots to concentrate light.
Although some of the Manfrotto products pictured are a little expensive they are built to withstand professional use. Some of the other products I mentioned are relatively inexpensive. I could go on and on with these neat gadgets to make a photographers life easier but I will end the article here. I hope I have given you some ideas that might solve some problems or maybe even make really cool Christmas presents :)

Fujifilm X-T1 and Fujinon XF 60mm f/2.4 R Macro lens – 1/420 @ f/2.8 – ISO 200
Fujifilm X-T1 and Fujinon XF 60mm f/2.4 R Macro Lens – 1/105 @ f/4.0 – ISO 200
Fujifilm X-T1 and Fujinon XF 60mm f/2.4 R Macro lens – 1/180 @ f/2.8 – ISO 200
