Today I would like to talk about compact cameras for two reasons. The first reason being I had minor foot surgery on Tuesday and I still find it a little hard to get around with shoes on so I am being a little lazy in not having to go out and take new photos. The second reason for writing this post is practically everyone who has a big DSLR camera usually also has a compact camera they take with them when they go on vacation or just want to travel light. All of these photos were taken about one month ago, with a Sony RX100 Mk. 1 compact camera on my walk back to Penn Station from 69th Street and 2nd Avenue in Manhattan. I originally went to Manhattan to pick up a Macro lens for my Fuji X-T1 but then I got the idea to ask Patti K. (a fellow contributor on Monochromia) to meet me at an Upper East Side Starbucks for a cup of coffee and to shoot the breeze. Meeting Patti was truly the highlight of my day and my friend and I talked with her for about 1 1/2 hours but thats a story for another post.
Most of you are probably saying why do I need a compact camera when I have my iPhone or smartphone with me all of the time and that is a perfectly legitimate question. Some people like Louise Whiting or Patti K. are accustomed to taking photos with their iPhones and, I have to admit they are extremely creative with them (for those of you who don’t know these women check out Monochromia our black and white only blog, they are two of our main contributors). As for myself shooting with a phone is sort of a hit and miss situation sometimes I get great shots and sometimes they really suck :) Maybe this is because I don’t shoot enough with my iPhone or it could also be because I have big sausage like fingers and I am always afraid of dropping it.
For those of you that have success shooting with your phone I tip my hat to you and all I can say is “whatever works for you”.
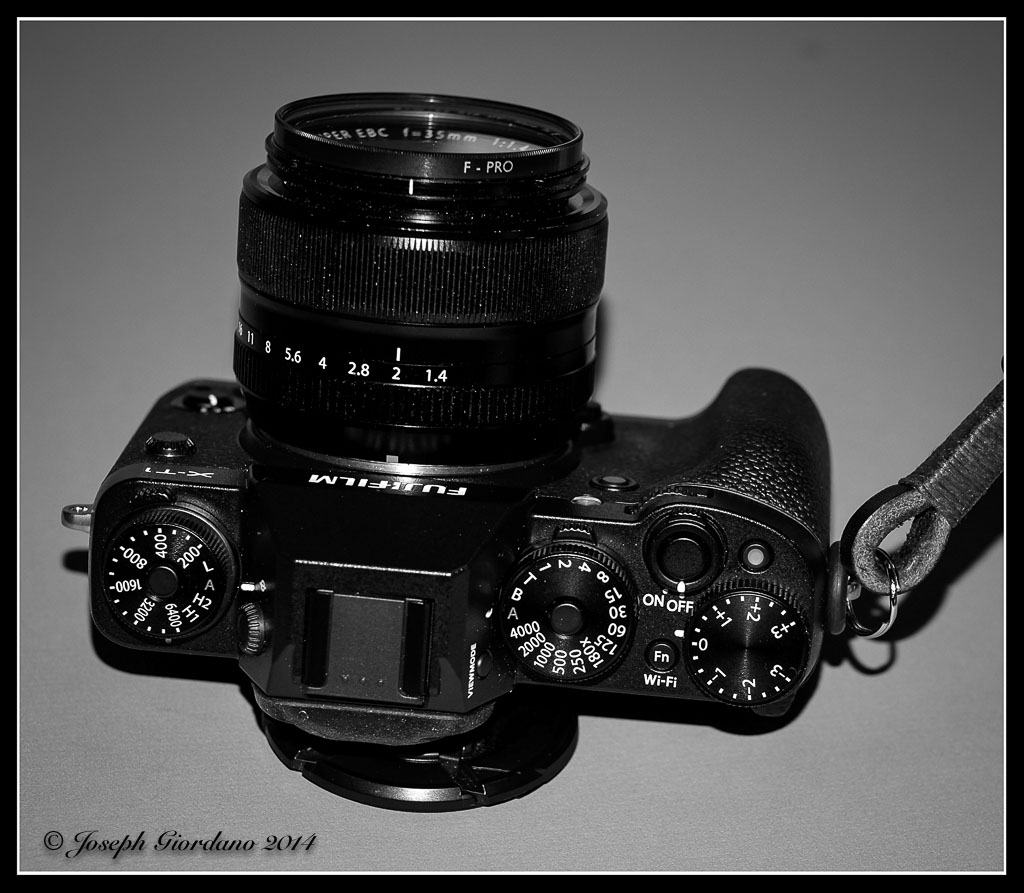
For those of you that are familiar with my work and what cameras I enjoy using it should come as no surprise that I love Fujifilm cameras. I previously shot with a Fuji X20 camera but when I purchased my X100s I sold my X20 because I couldn’t see myself using it that much with the X100s. That was probably a mistake on my part because I really loved that camera and the images it was capable of producing. Since then I sold my X100s along with my X-Pro 1 and X-E2 and I have settled on using two cameras with the same control layout. Those cameras are a pair of Fuji X-T1’s and while I love them sometimes I just feel like being able to throw a camera in my pocket to go into Manhattan traveling as light as I can.
Being I am a cheapskate I stumbled across a Sony RX100 Mk. 1 on Craigslist (classifieds) and bought it for around $200 with a handful of accessories. I usually am not a fan of cameras without any sort of viewfinder because I don’t like holding cameras at an arm length away from me. It makes for an inherently unstable camera holding position. A camera with a viewfinder will add another point of contact such as your forehead that will help stabilize it. On the plus side the Sony viewscreen seems to be bright enough in to use in bright sunlight.
Here is an image of the Sony RX100 that I purchased
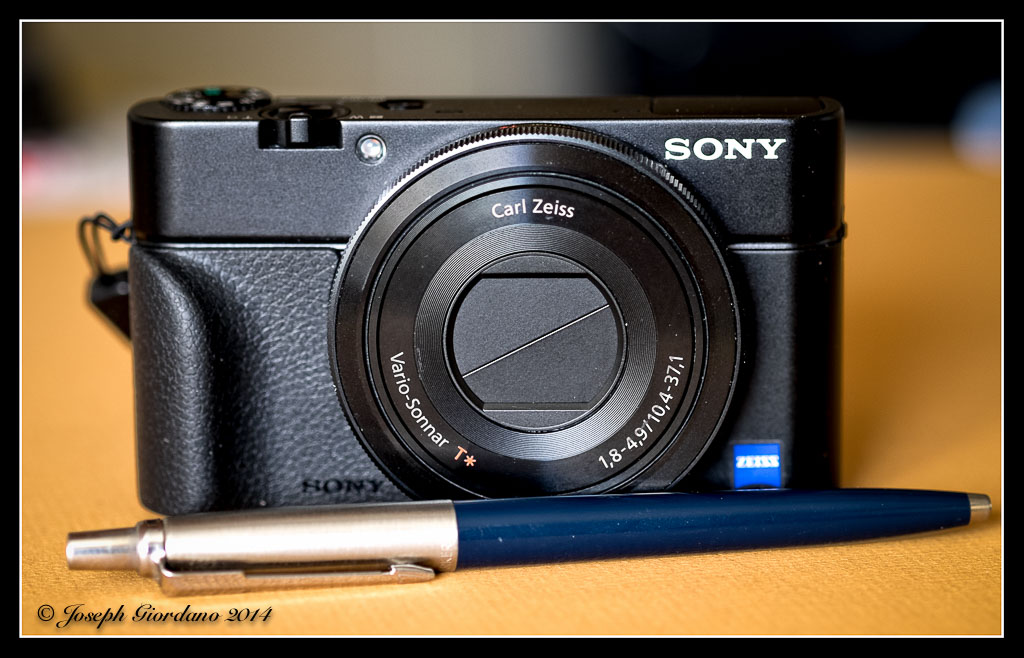
I photographed the camera with a ball point pen in front of it to illustrate how small the camera actually is. Its small but fairly heavy for its size being made from die cast magnesium.
If money was no object I probably would have bought another Fuji, this time the X30. I might even still do that in the near future. I really love the fact that now the Fuji X30 has an electronic viewfinder and very similar controls to the other Fuji’s. The sensor is smaller on the Fuji than the Sony but I rarely shoot above ISO 1600 so I never had any issues with high ISO problems when I owned the X20
I love using prime lenses on my X-T1’s but when it comes to traveling light I would rather have a zoom lens. Thats one of the reasons I bought this Sony (besides being a cheapskate) because it has a very sharp Carl Zeiss branded lens with a maximum aperture of f/1.8 at its widest setting but quickly changes to f/4.9 an the telephoto range. The Fuji X30 has a maximum aperture if f/2.0 at its widest setting and it only slows to f/2.8 at its longest telephoto setting.
Okay Joe I’m getting tired of hearing about your cameras whats the point of this article ?
The point of this article is this – what exactly is important when purchasing a compact camera to supplement your DSLR. Image quality would be number one on my list followed by the ability to shoot in RAW as well as jpg. Usually compact cameras have a lot of items buried in the menus, so controls and function buttons are also important. It’s no fun searching for a setting in the menus when trying to shoot a rapidly changing subject or scene. Lens speed is also important. Do you recall me saying I rarely shot above ISO 1600 with my Fuji X20 ? That was because it had a very fast lens for a compact camera. Another great feature to have is WiFi built in to your compact camera as well as GPS. The ability to upload your images instantly to social media is important to most people. You can purchase SD cards such as “Eye Fi” to instantly transmit photos to your phone or tablet but I personally would rather have this feature built in to the camera.
Built in GPS is also great because if you are on vacation and want to document where you visited with a map view you will need some way to tag each one of your photos with GPS coordinates. Most programs like Apple Aperture, iPhoto, Lightroom and I believe Photoshop Elements provide a way to compose a photobook within the program and also show a map view of where you took each image. The Fuji X30 along with the X-T1 and X-E2 have a feature called Geo Tagging and this works in conjunction with a free app you download for your smartphone and the camera will access your smartphones GPS feature to tag your images (pretty cool solution).
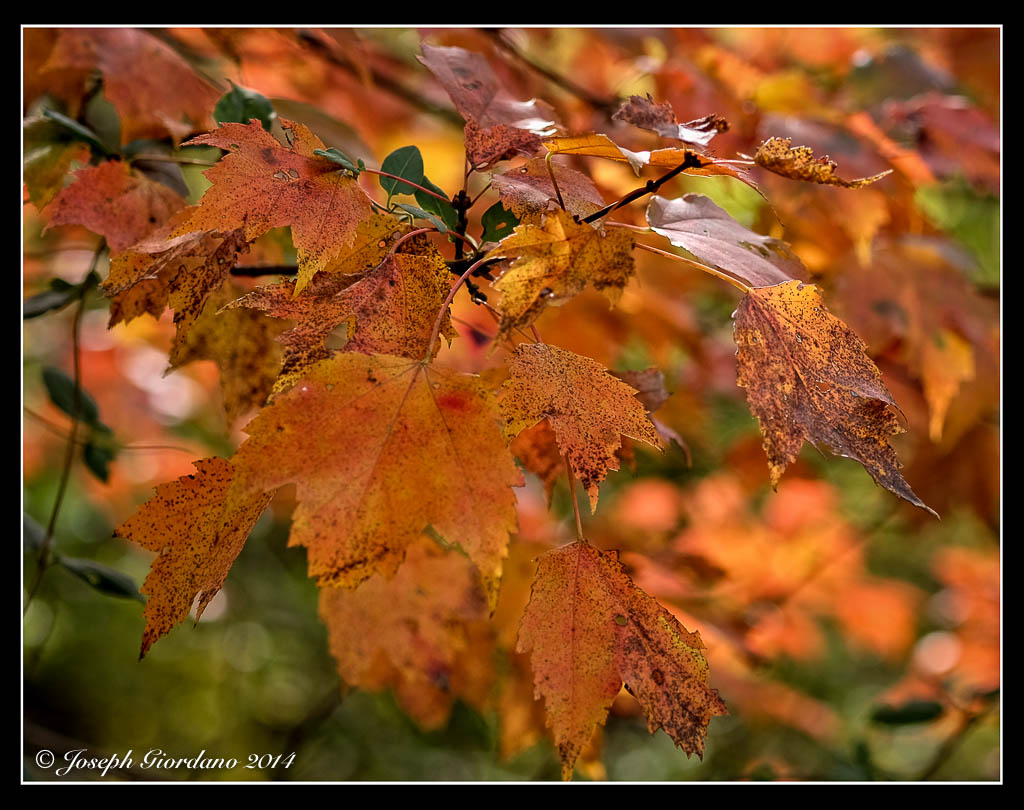
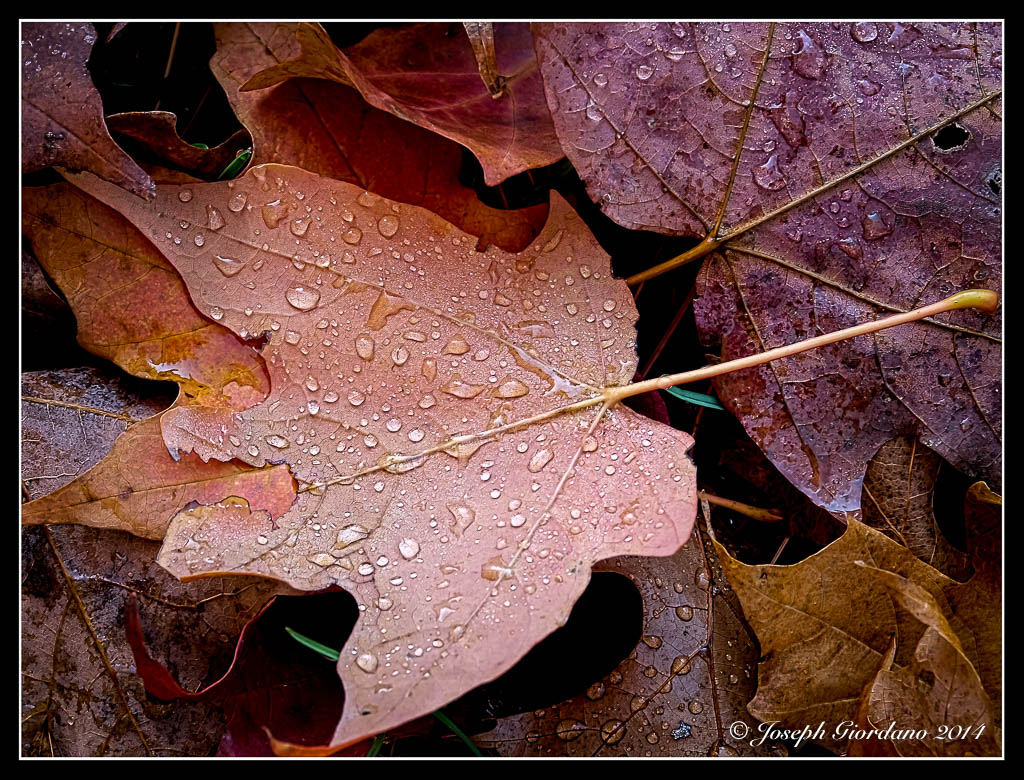
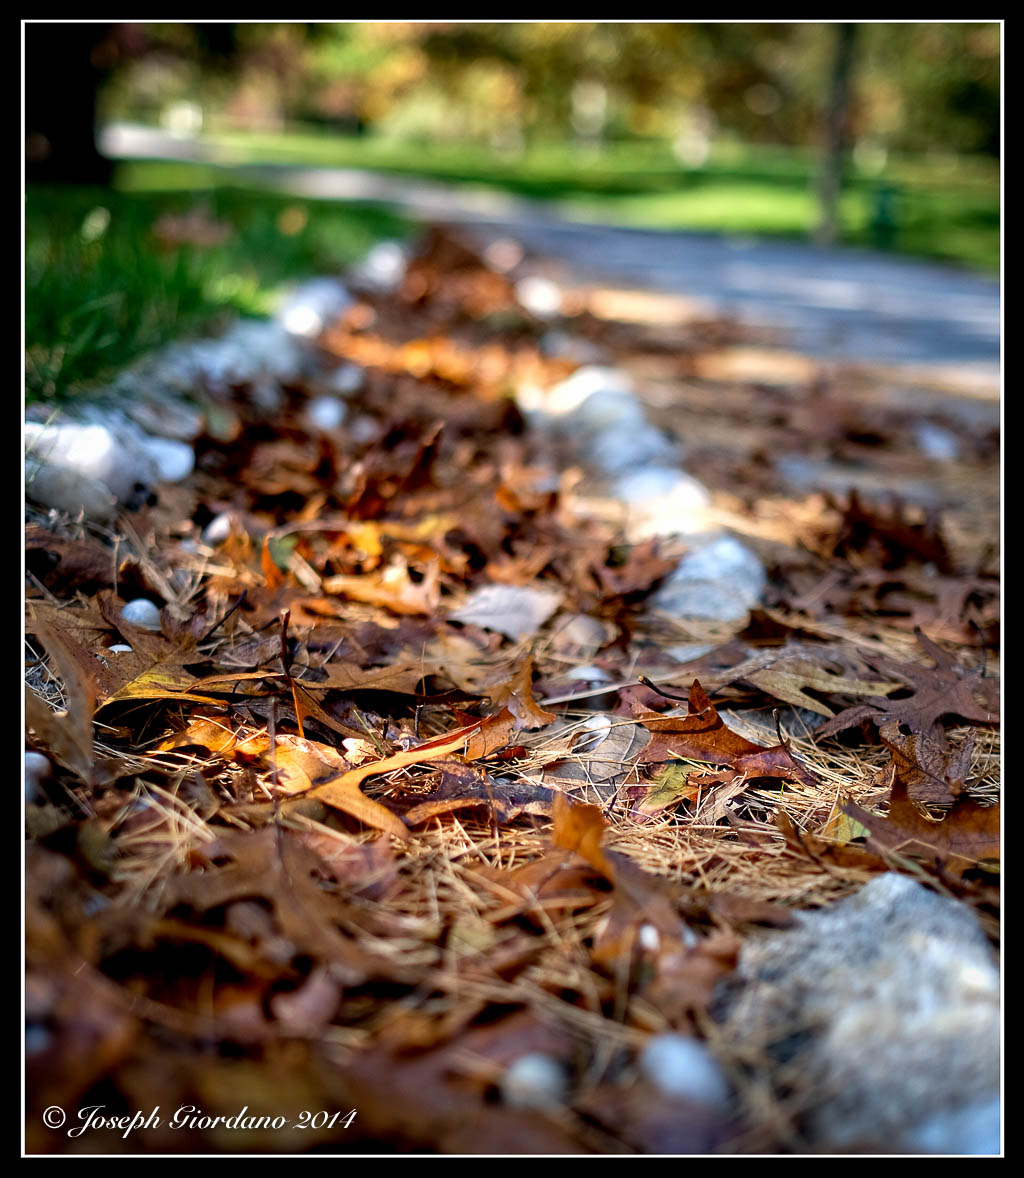
Image quality on compact cameras can be quite pleasing especially when equipped with a fast aperture lens so you can achieve shallow depth of field.

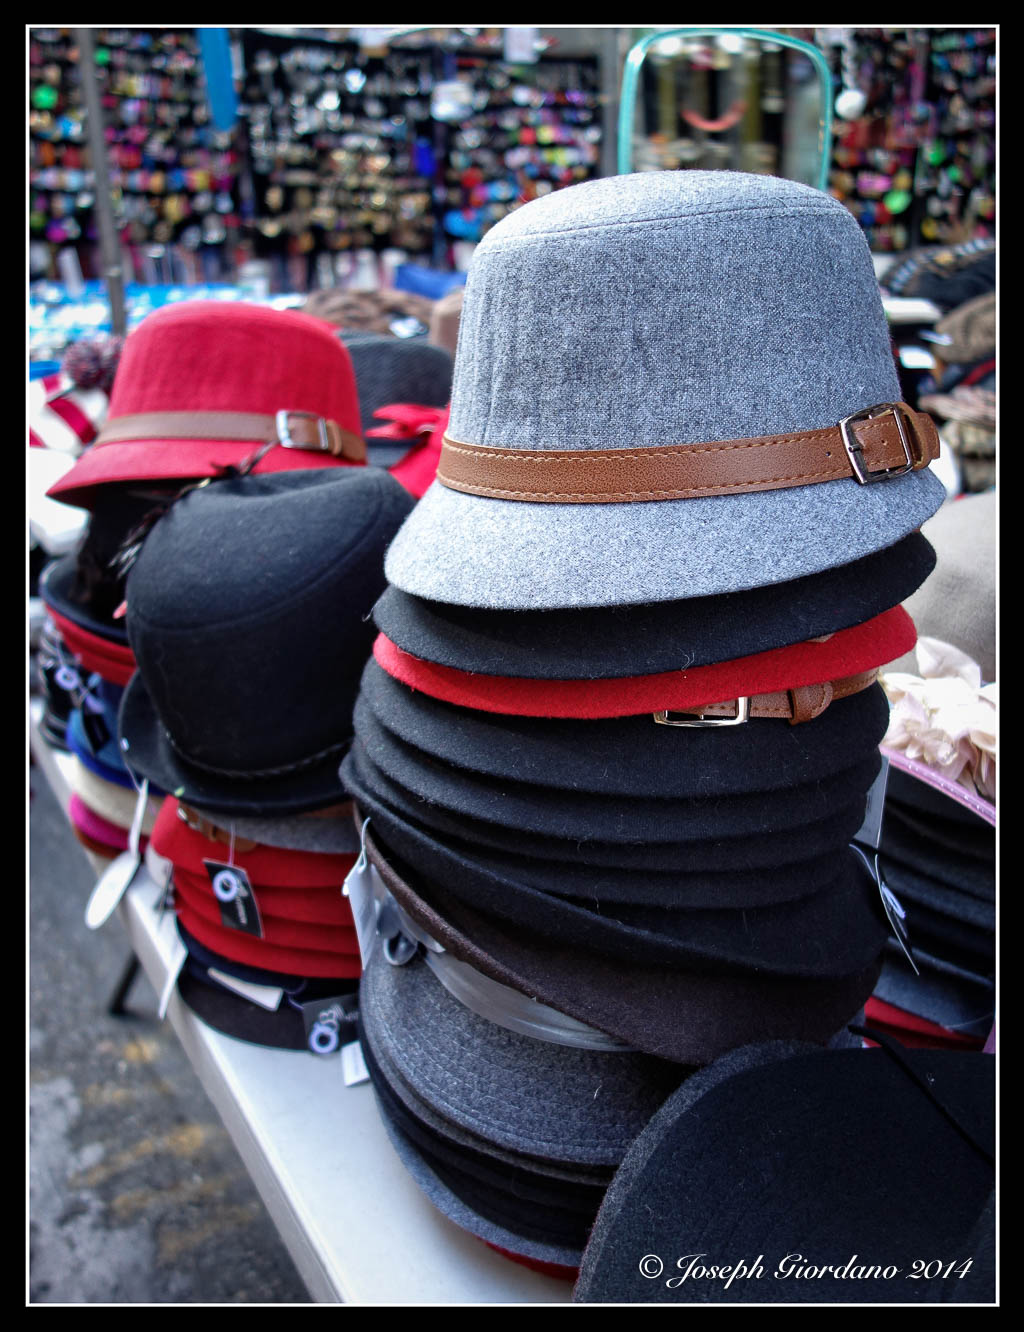
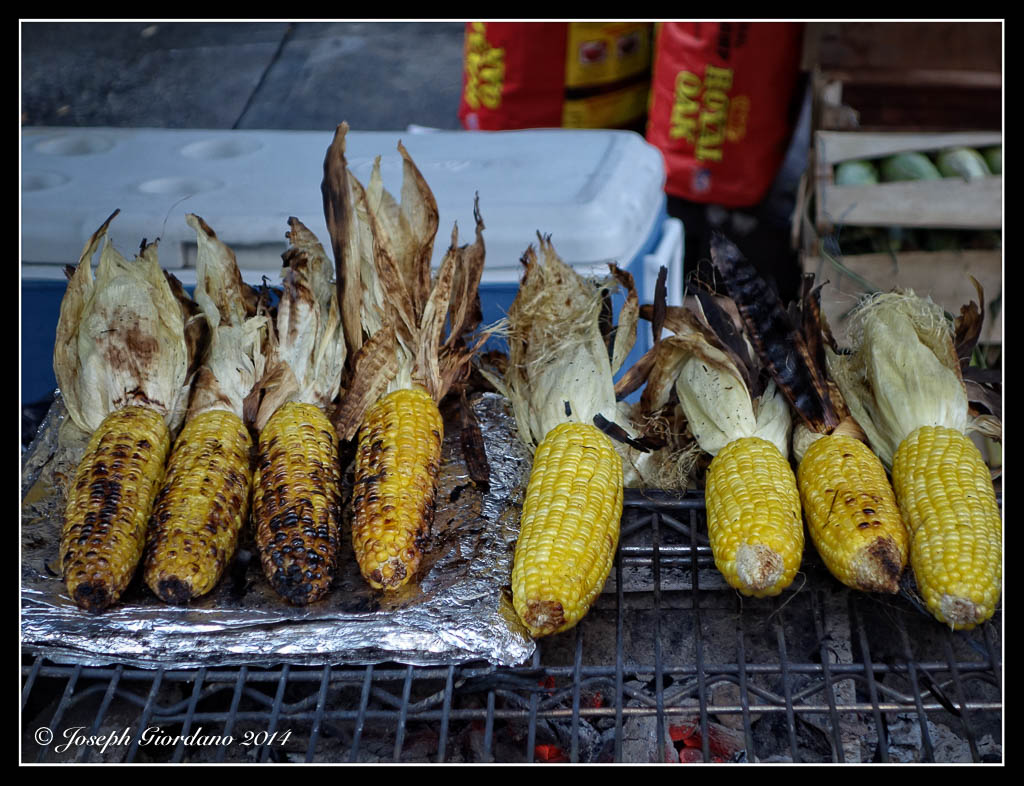
A compact camera is excellent for street fairs or taking photos at a farmers market.

There are so many vendors with different products for sale at street fairs with a wide variety of colors and textures to photograph.
Fresh roasted corn is always a favorite at street fairs and my friend Carmela just had to have one.
Compact cameras are also great for street photography because you look more like a tourist rather than a photographer.
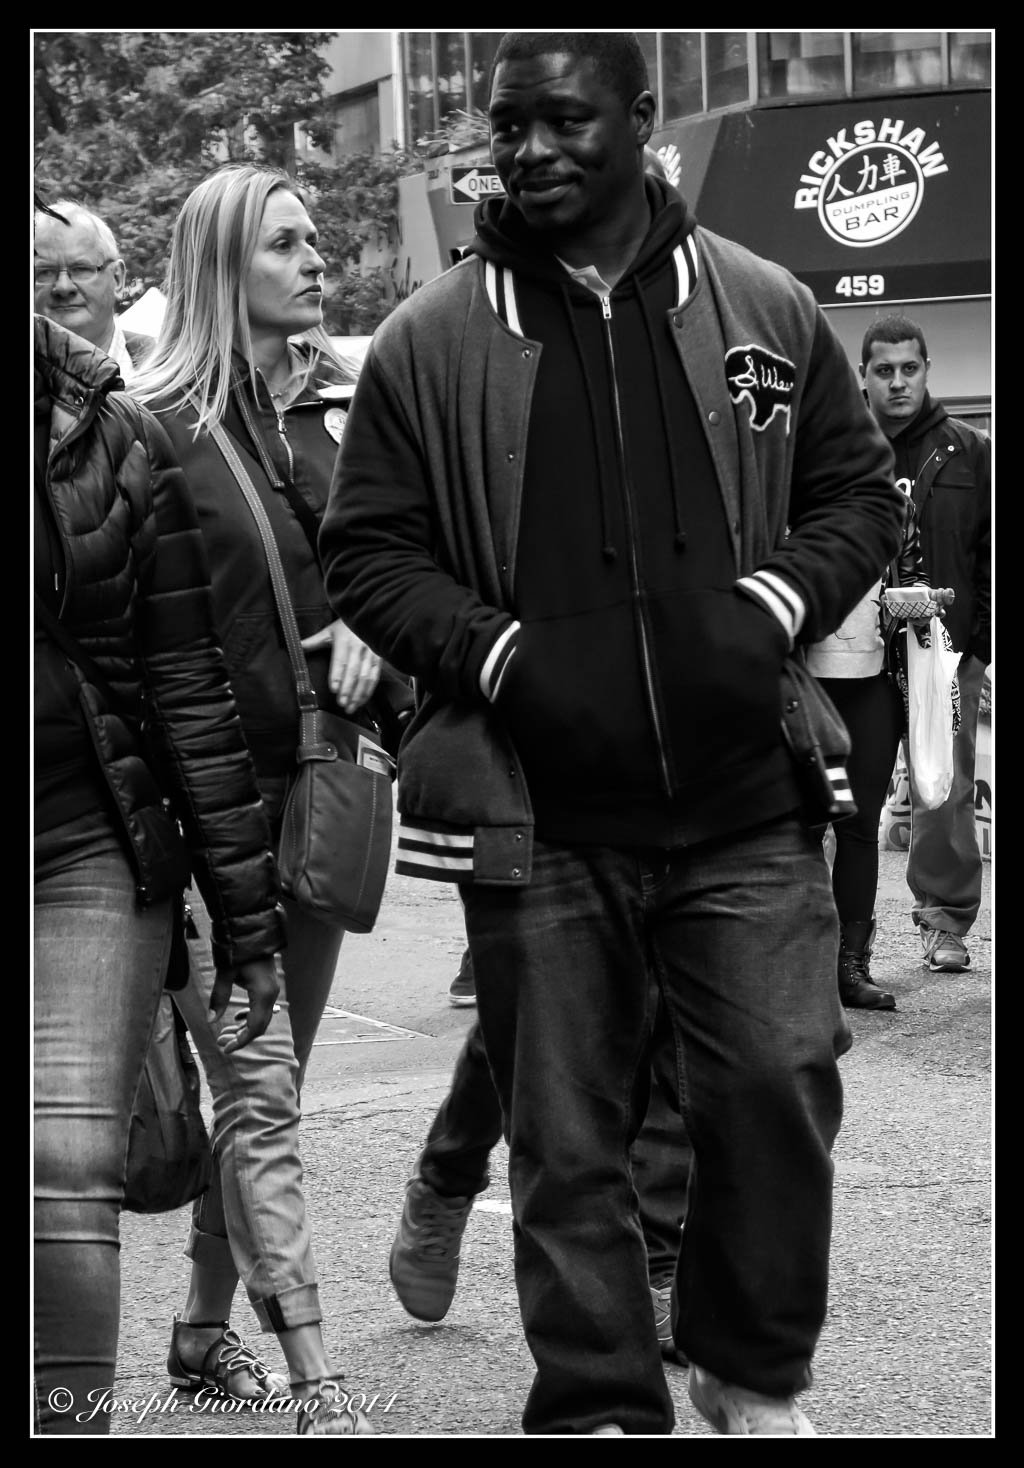
The tiny inconspicuous nature of a compact camera makes them less threatening to subjects. I was able to take a shot of this gentleman watching his girlfriend shop without him even knowing.
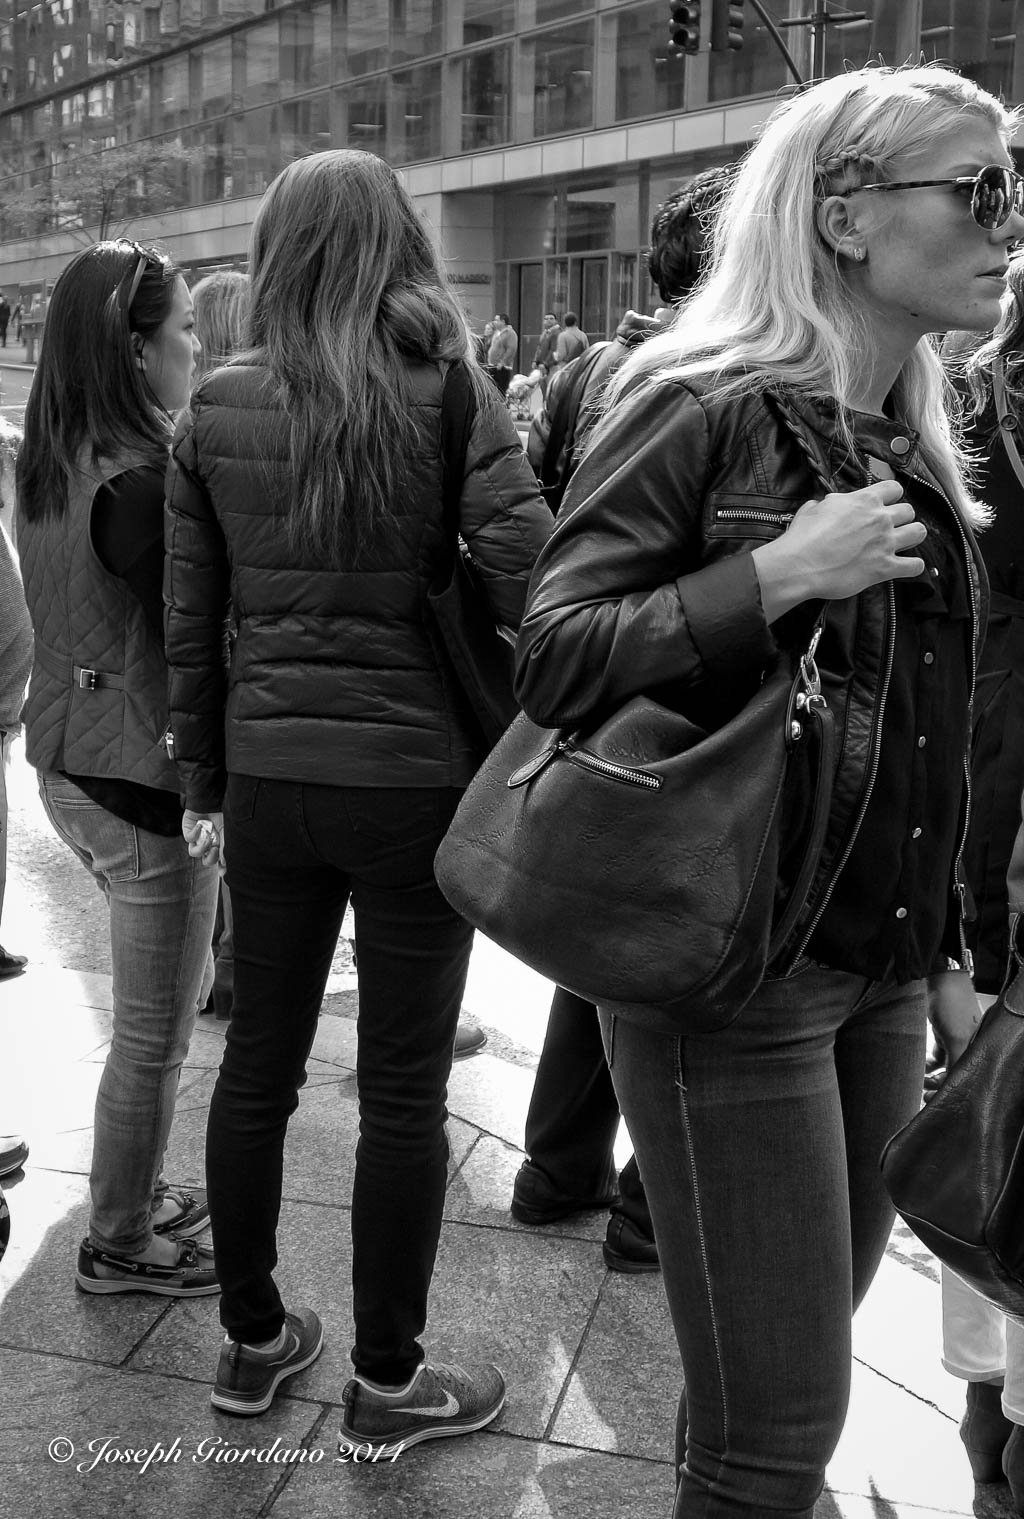
Having a compact camera to suppliment a big DSLR is handy. If you are a blogger, cameras in the 12 to 16 megapixel are ideal especially if the camera is equipped with WiFi to make mobile uploads effortless. Some people also enjoy compact cameras more than a full size DSLR. There is something to be said for being able to travel very light and be inconspicuous.
Looking for some of the features I mentioned above will most certainly make your experience using a compact camera more enjoyable. I personally don’t do much social media but the WiFi feature on my cameras comes in really handy for me simply because I immediately get to see my images on a larger screen (my phone) than the cameras LCD screen. Some of the features might seem like overkill in a camera but when you start to think of your camera as a tool rather than just for snapshots it will start to seem like a Swiss Army Knife with a feature or tool for everything.