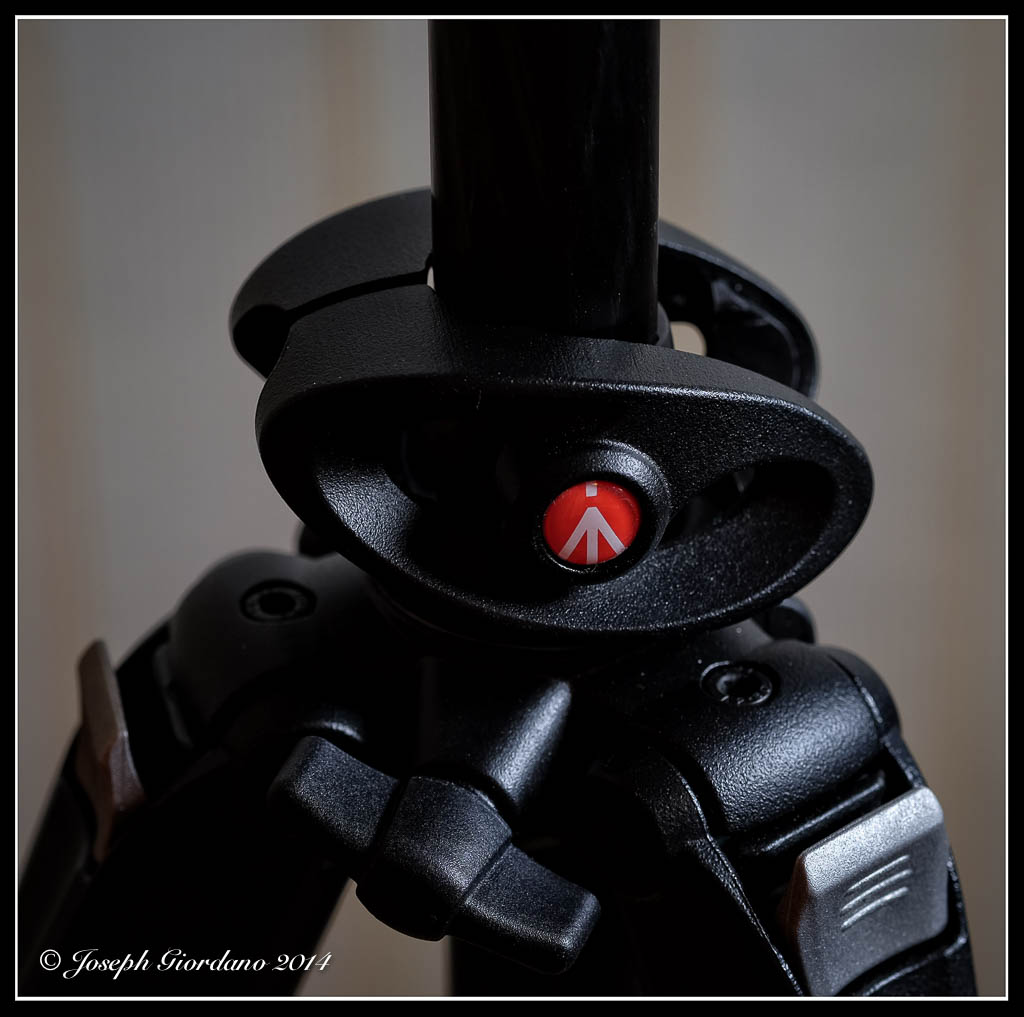
One of the most useful items to have is a great tripod and most of you readers probably have one. If you are still in the market for a tripod I have a couple of suggestions but they don’t come cheap. You can easily spend almost as much as you paid for your camera for a tripod and head. Most people do not bother bringing their tripod with them because they complain it is too heavy to lug around. I agree tripods are heavy but the answer is not to buy a lightweight tripod that sacrifices stability. Carbon fiber tripods are lightweight but also expensive. Remember “you get what you pay for” and there is no way around that..
The best tripods most of the time will have three section legs. There are exceptions of course and some tripods with four section legs are stable. The problem with four section legs is more joints and locks which are weaker than solid sections. Usually by the time you get down to the fourth section the diameter of the tubing is less than you would want for optimum stability.
A good tripod will also have multi position legs for uneven terrain and also for getting lower to the ground for close up or macro work.

This is an example of a tripod with legs that will spread out to get you closer to the ground.
In addition to legs that will get you down to ground level you should look for a tripod that has some sort of capibility to have the center column convert to the horizontal position which is handy for macro work.
This is an example of the center column in a vertical position.
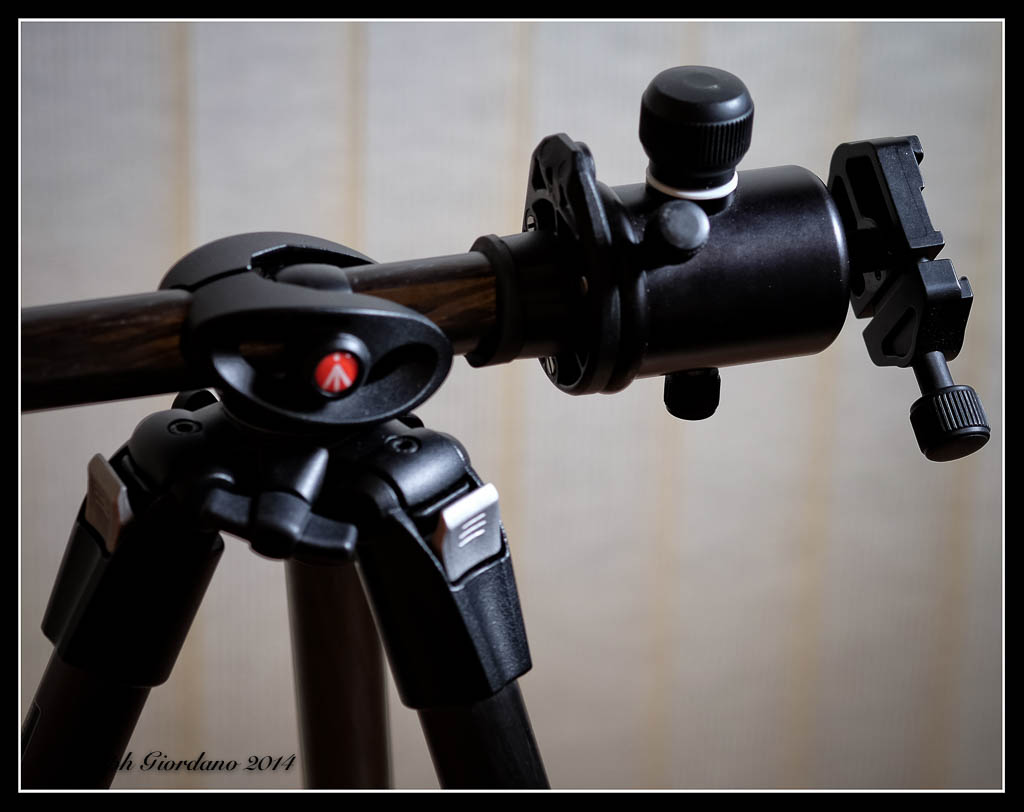
This is the same tripod with the column locked in a horizontal position.
The next thing you should consider is a head for your tripod. There are many different styles of heads including pistol grips, ball heads to name a few. My preference is a ball head.
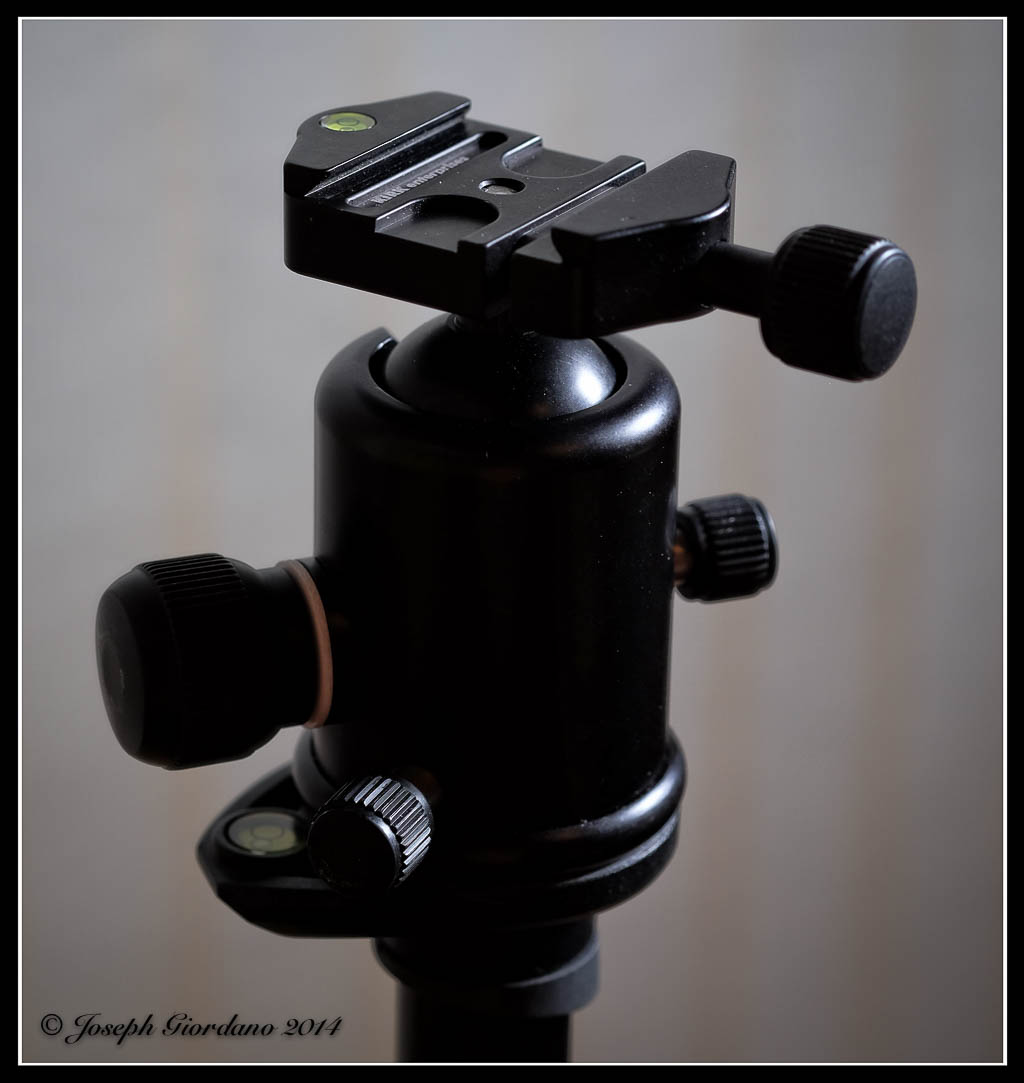
This is an example of a Kirk BH-3 ballhead with an Arca-Swiss style quick release (dovetail).
If you do opt for this type of quick release tripod head you will have to purchase a Arca-Swiss compatible quick release plate. Companies like Kirk, Really Right Stuff, Acratech and Markins manufacture these plates. (Any Arca-Swiss style quick release plate should fit other manufacturers Arca-Swiss heads).
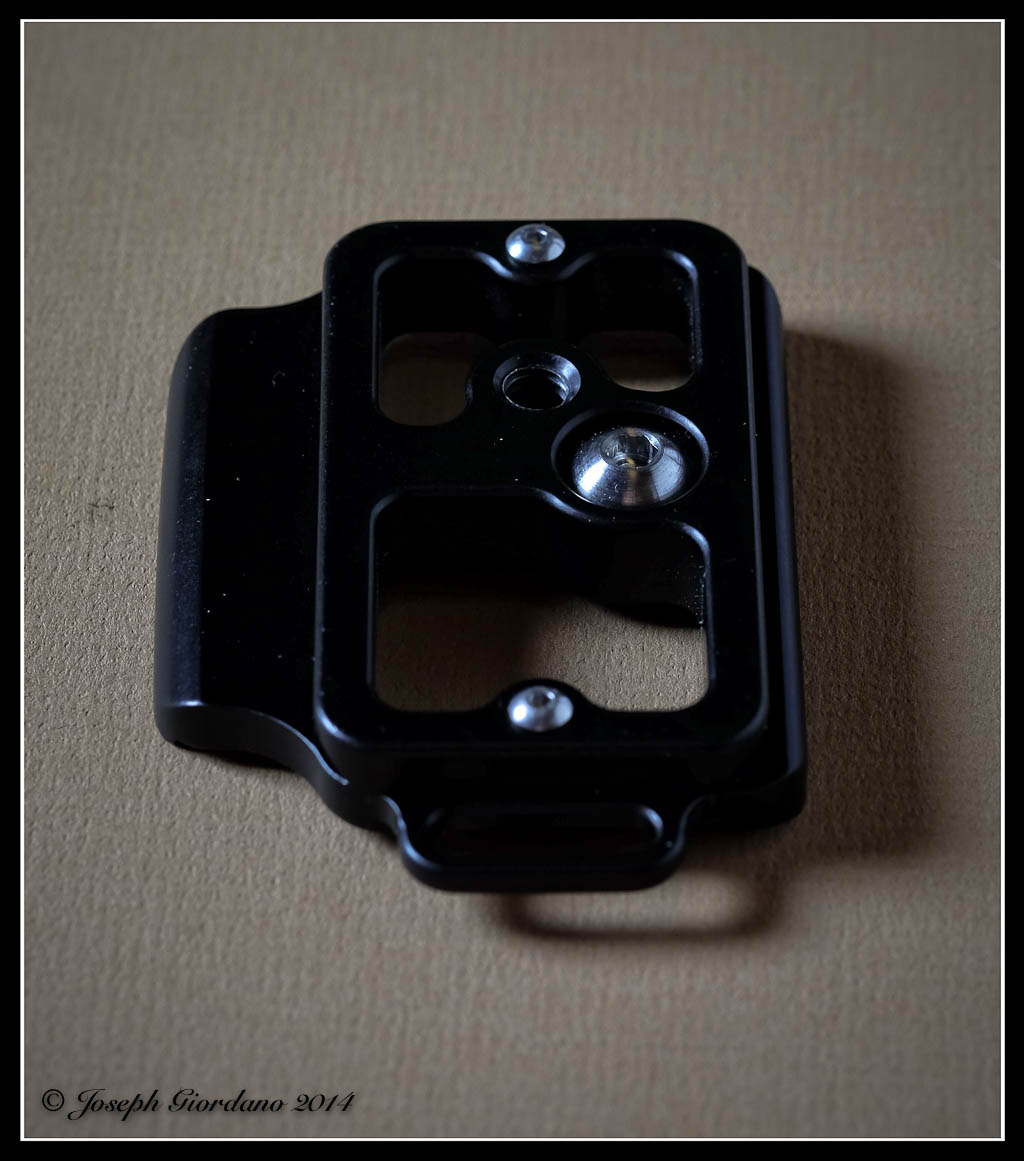
This is an example of an Arca-Swiss plate made by Kirk to fit the Nikon D610
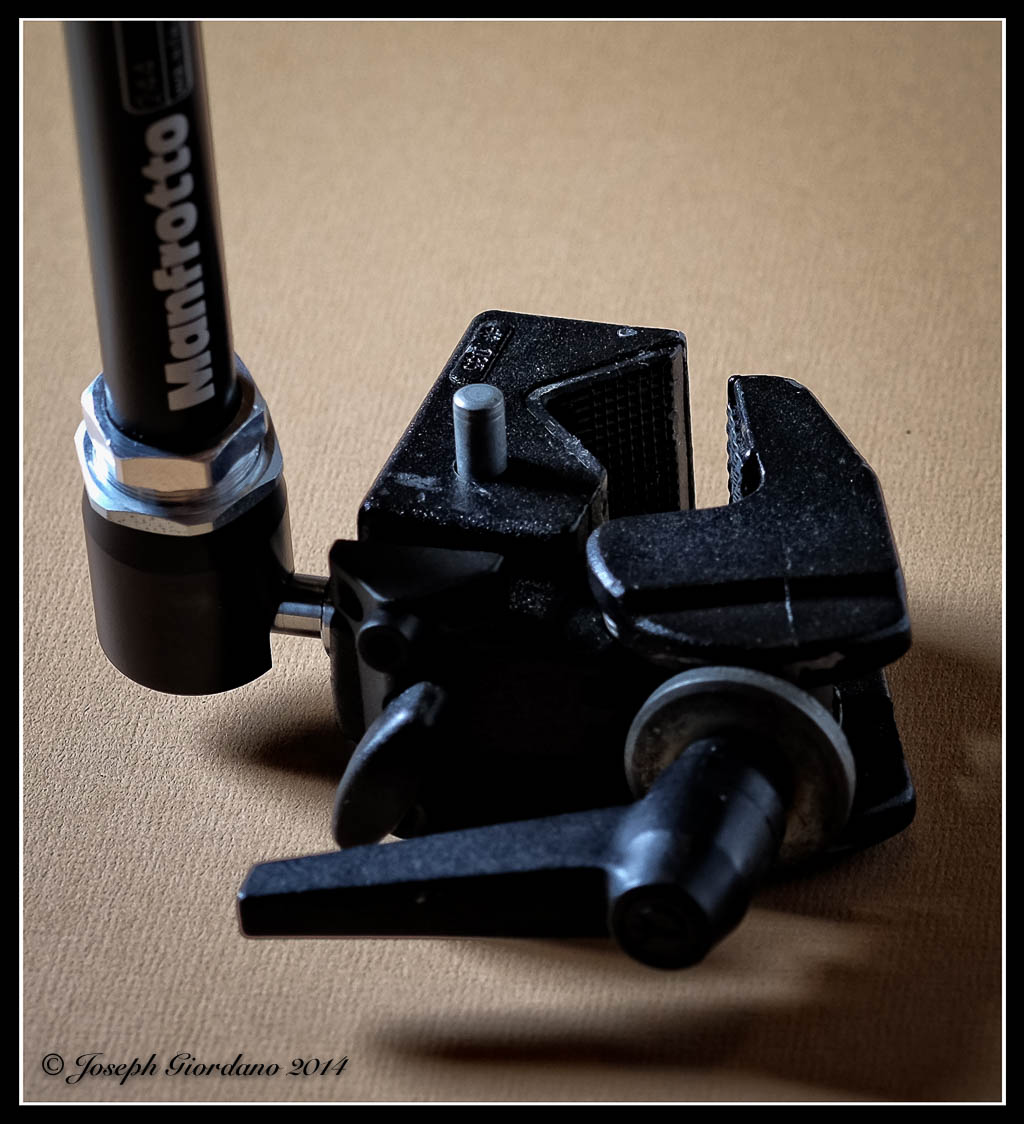
Manfrotto Super Clamp
This clamp is a very sturdy clamp and is equipped with removable plastic jaw inserts to adapt to any shape you can think of. It uses standard size studs for attaching items (sorry Emilio I didn’t mean you).
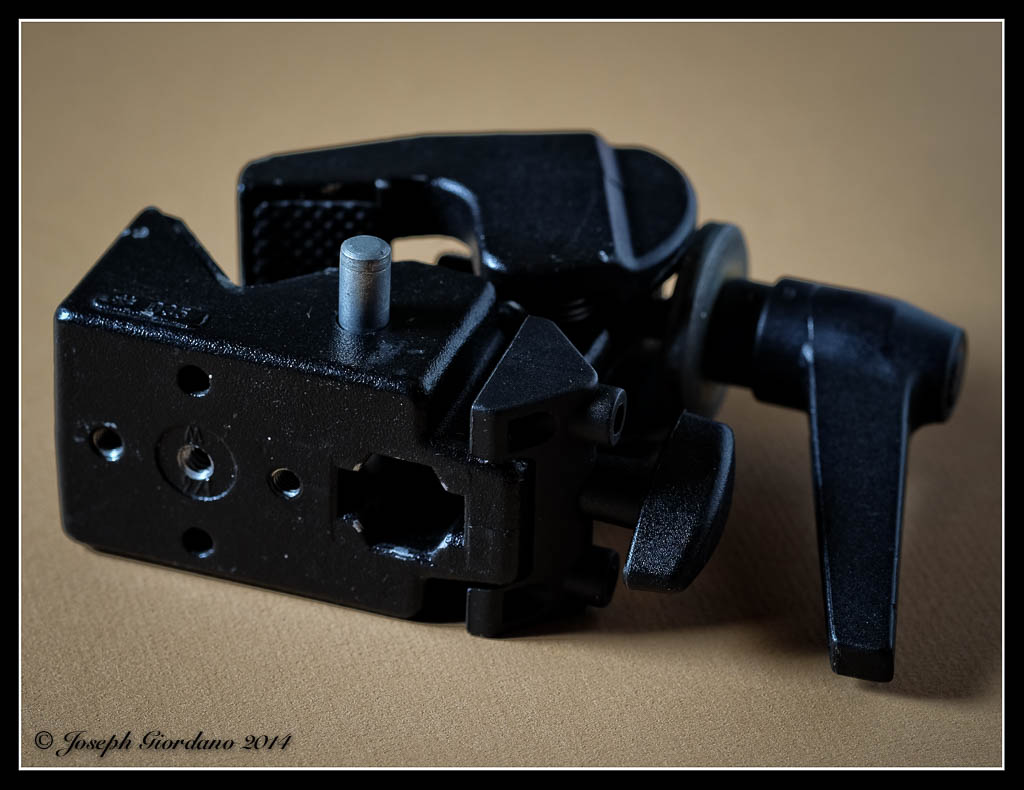
This is an example of a Super Clamp and let me tell you these things are strong. The hole to the right is for standard sized studs.
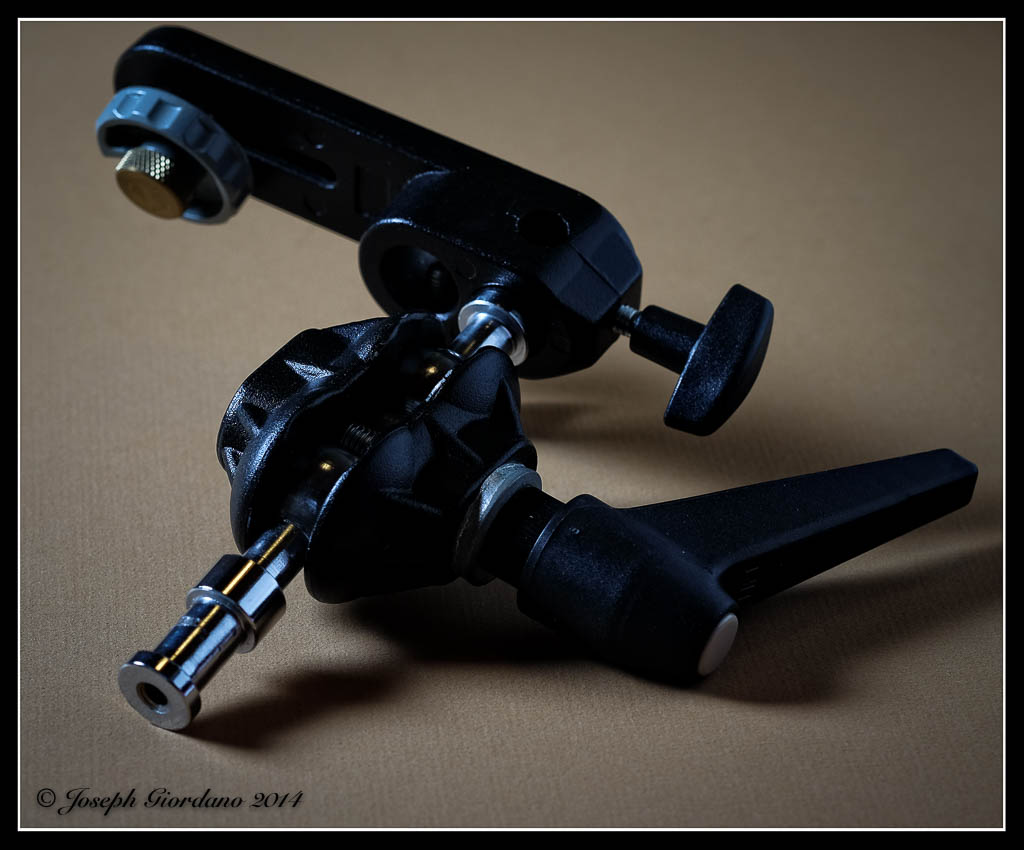
Manfrotto Magic Arm
The Manfrotto magic arm is a great solution for an all purpose articulating arm. I have used this arm for holding my Nikon Speedlights in combination with the Manfrotto Super Clamp. It can be attached practically anywhere, doors, table tops, pipes and any square, round or in between shape. The Magic arm can also be used clamped to your tripod legs if your tripod is not equipped with multi position legs or ground level legs to aid in your macro work.

This is an example of a Magic Arm. the one large knob controls both of the ball type connections and the swivel connector. You loosen the knob articulate the arm to any position then tighten the knob and it is locked.
This is an example of the Magic Arm connected to the Super Clamp.
This is an example of a camera platform that can be removed from the double ball setup and mounted to the other end of the magic arm.
Frio
This is probably the best invention I have seen in quite some time. Most Speedlights come with stands with a tripod thread or (1/4 x 20) underneath for attaching to a tripod or lightstand. Unfortunately the manufacturers have gotten cheap and figured out they can save two and a half cents if they eliminate the brass threaded inset in these stands and just thread the plastic stands themselves. I don’t have to tell you how long those plastic threads last with regular use. The Frio is a neat little plastic “doohickey” with a brass threaded insert and a foolproof locking system that will fit any flash even the thicker Nikon SB-900 and SB-910 feet.
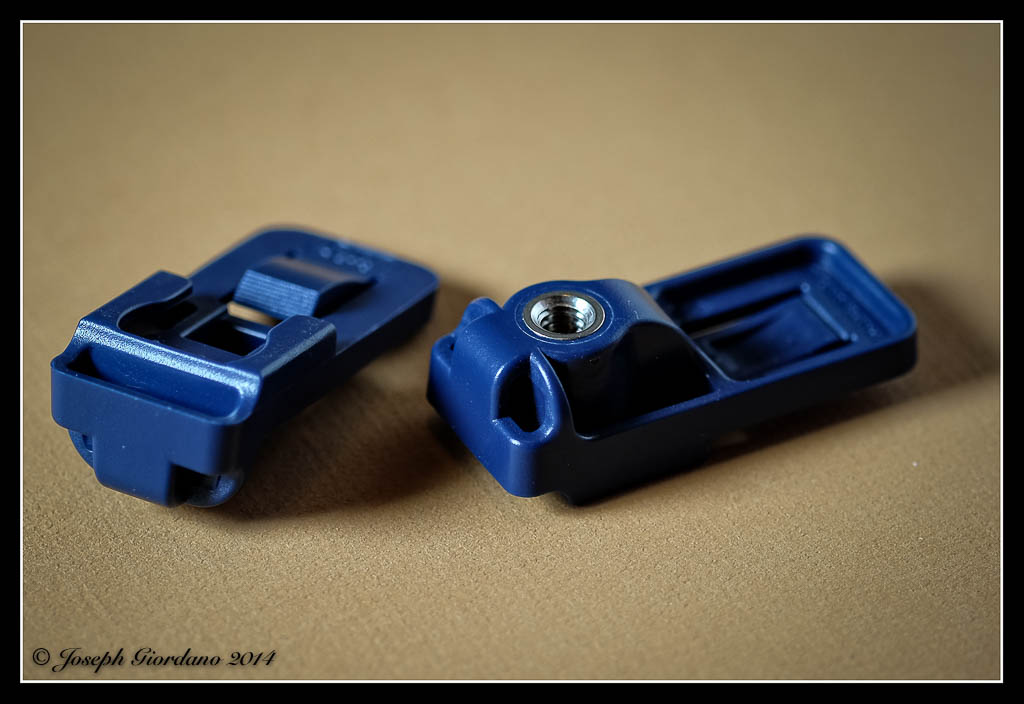
This is an example of a Frio (boy do I wish I had thought of inventing this). These threads will not strip like the plastic threads on some flash stands.
Speed Straps
These are Velcro straps with a rubber coating on the inside. Instead of using adhesive Velcro which is usually supplied with accessories you just wrap this around and tighten the strap and you don’t have to use a pneumatic chipping hammer to remove the adhesive residue from your flash.

This is an example of a speed strap. Just some Velcro with a rubber coating on the inside.
The speed strap is wrapped around your flash unit instead of using Velcro with adhesive.
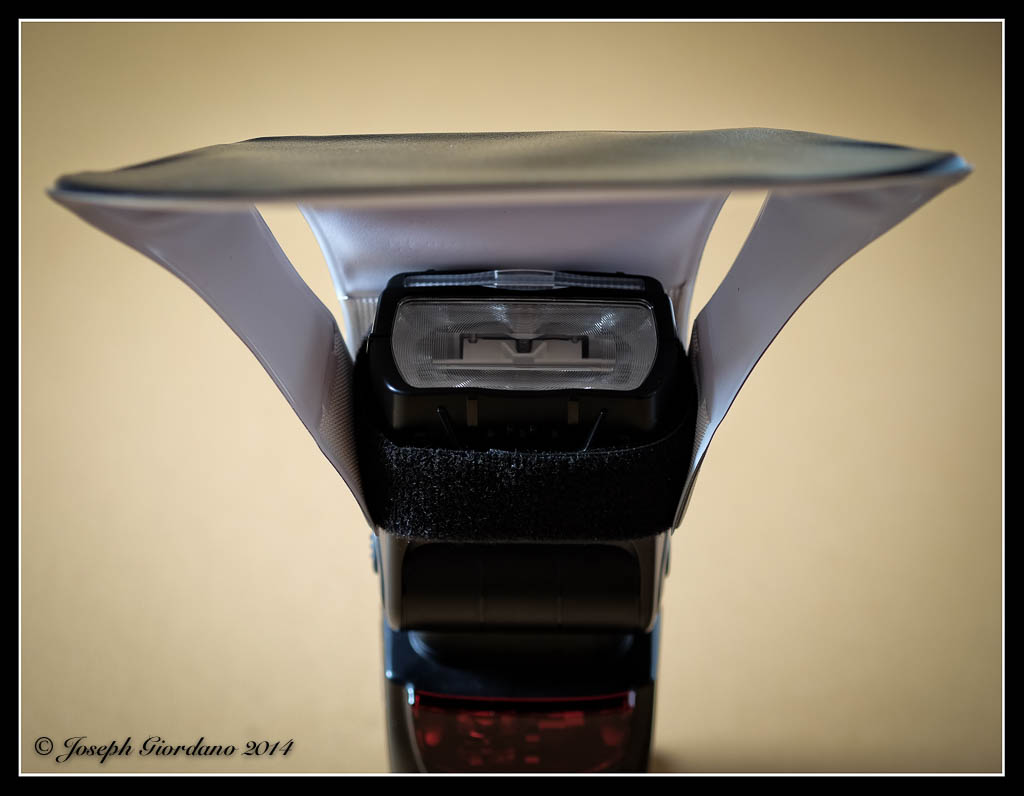
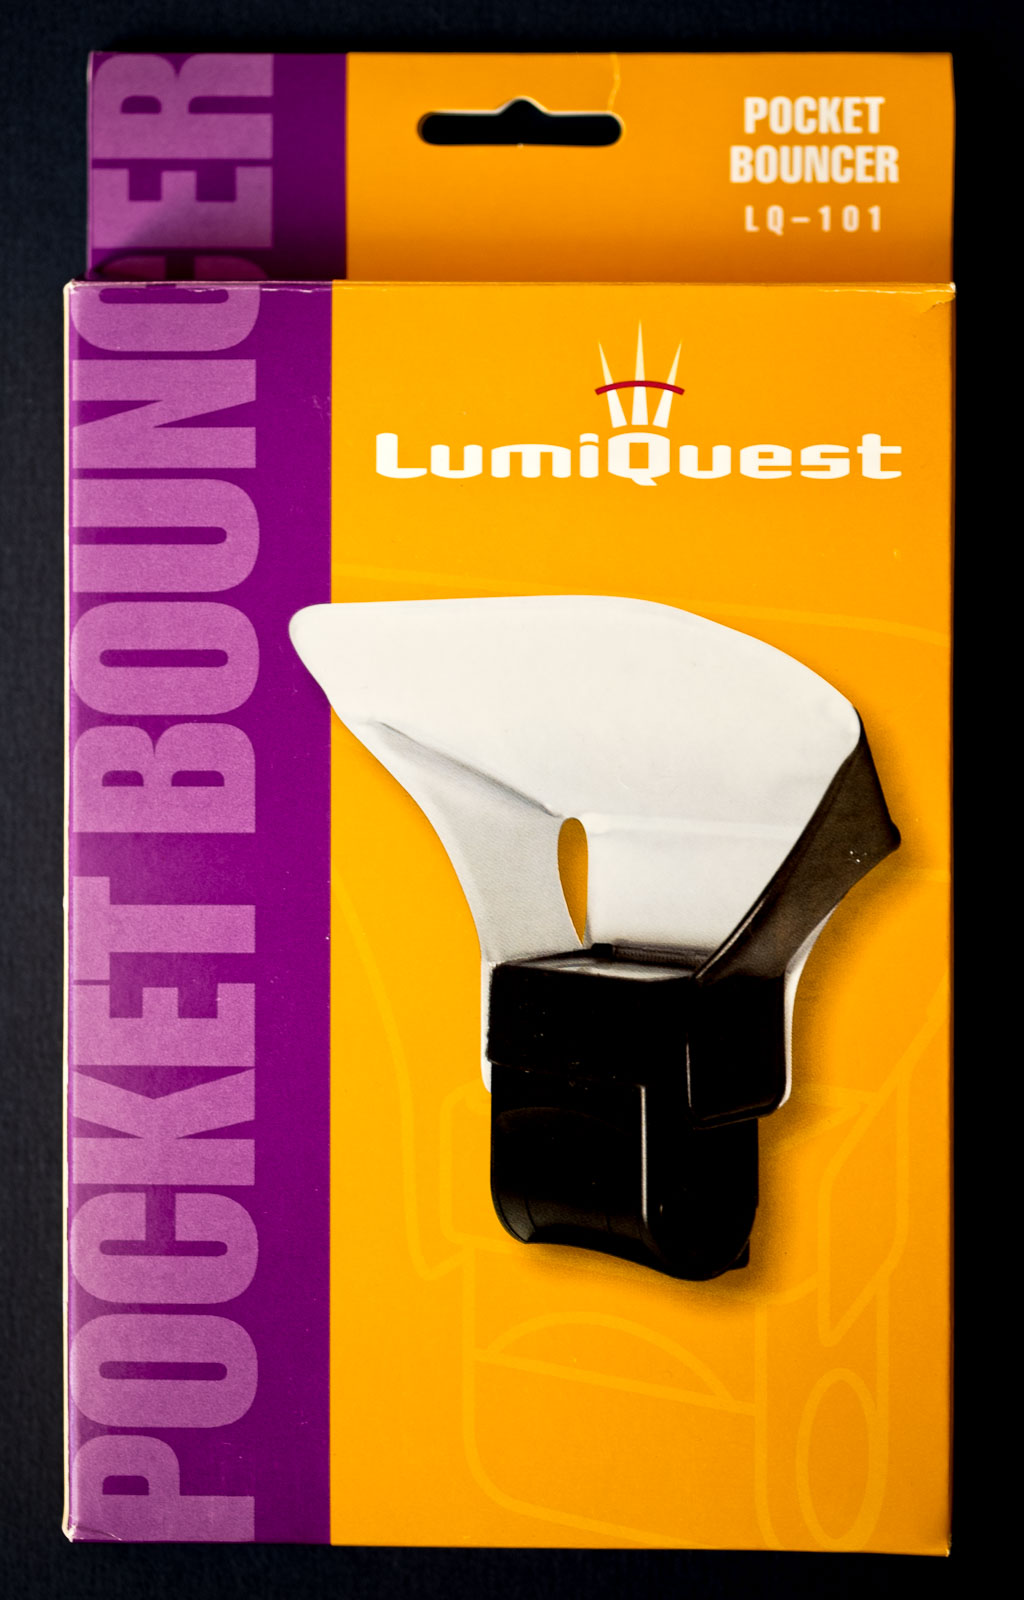
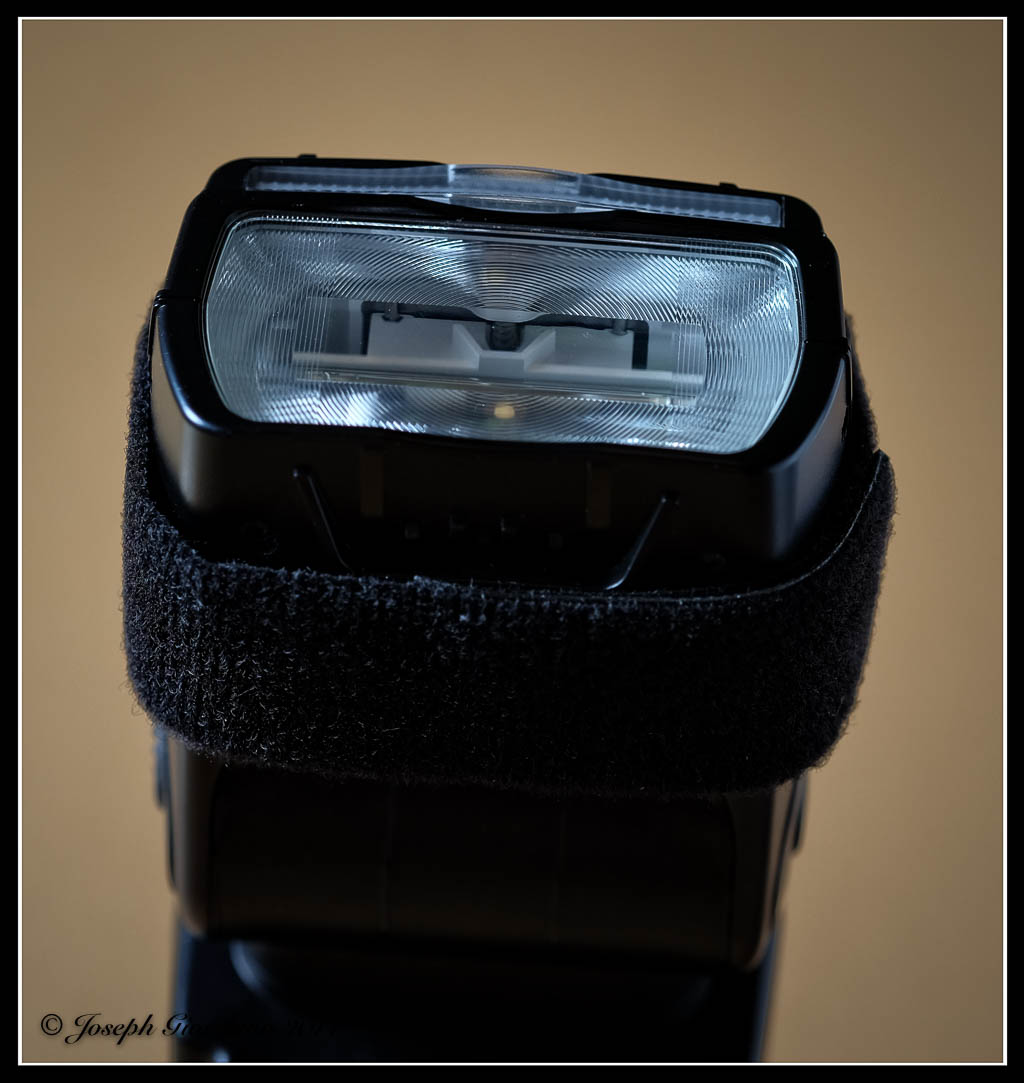
Once the speed strap is on the flash you can attach diffusers such as this Lumi-Quest pocket bounce diffuser or shoots to concentrate light.
Although some of the Manfrotto products pictured are a little expensive they are built to withstand professional use. Some of the other products I mentioned are relatively inexpensive. I could go on and on with these neat gadgets to make a photographers life easier but I will end the article here. I hope I have given you some ideas that might solve some problems or maybe even make really cool Christmas presents :)