This is the fourth installment of the “You Asked For It” series of posts and I will try to explain exposure and the different kinds of metering options most modern cameras have. I will also explain hand held light meters and ISO.
Why should I worry about the different metering modes available, my camera seems to do a decent job automatically ?
This is a great question and I’m really glad I asked myself !
The different modes of metering are available because there are situations where the standard default metering will not do an effective job of obtaining correct exposure. I think an explanation of the type of metering is in order before I go any further.

Reflected Light Metering
Reflected light metering is the method used by all modern cameras today. You point the camera at your subject and your camera measures the light reflecting back to the camera off the subject. The only problem with this method is when light is reflected back to the camera it does not take into account whether the subject is light or dark in tone. Sophisticated cameras do their best at compensating for this effect and sometimes they will do a decent job. Most reflected light meters are calibrated for middle gray or 18% gray.
So why do I need to know this useless information ?
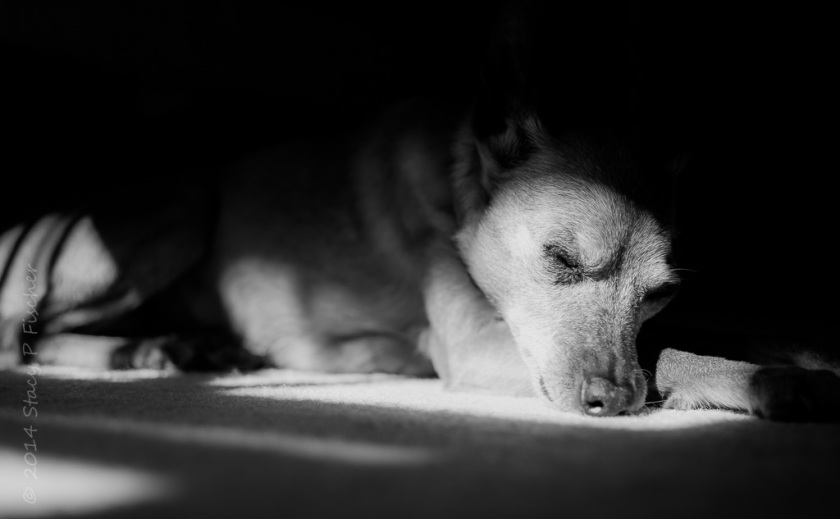
When taking color photos we do not have too many problems with reflected light meters. Black and white photography is where we might run into problems. Remember when I told you most reflected light meters are calibrated for 18% or middle gray ? What do you think will happen if you are taking a black and white photo of a white dinner plate ? You guessed it the camera will most likely reproduce the image not white but middle gray. Some metering systems in todays cameras are sophisticated enough to recognize this and will compensate for it, others will not. Back in the film days the “Zone” system was created for exactly this reason. The zone system was formulated by Ansel Adams and Fred Archer in the 1930’s. If you do research on the “Zone” system you will find that 18% gray would equal Zone V (5). OK enough talk about the Zone system because we are going off on a tangent but there is plenty of information on the internet if you want to learn more about it. Here is a great article on this subject – Explanation of The Zone System
By the way in case you didn’t realize by now most cameras don’t meter in color. They have color sensors to record the scene but most of the time the metering sensor is seeing shades of gray (and I’m not talking about the book ladies) :)
Incident Light Metering
Incident metering reads the intensity of light falling on the subject, so it provides readings that will create accurate and consistent rendition of the subject’s tonality, color, and contrasts regardless of reflectance, background color, brightness, or subject textures. Lets read that last sentence again carefully because this is where these metering methods differ. The first part of the sentence states Incident metering reads the intensity of light falling on the subject. Notice it does not rely on the light reflected back to the camera. Why is this so important ? The next part of the sentence explains this. It provides readings that will create accurate and consistent renditions of the subjects tonality, color and contrasts regardless of reflectance, background color, brightness, or subject textures.
Whaaaat ?
To use an incident meter you point it in the direction of the camera or towards the camera or by the subject.
But why would I do a stupid thing like that ?
By doing this we can assume that the amount of light falling on the Incident Light meter is the same amount of light that would be falling on the subject. This method usually works very well for landscape photography and most portrait photographers also use this method. I happen to use this type of metering when I don’t trust the internal meter on the camera.
I am by no means suggesting that all of you go out and buy Incident light meters because they are superior. I am just trying to explain the differences and why in certain situations you might have to compensate or adjust exposure from what your in camera meter is suggesting.
In Camera Metering Modes
Most of todays cameras even consumer level DSLR’s have a few different kinds of metering modes available for the user to choose from. Notice I said modes not types because all internal metering types are reflective type. I am familiar with Nikon and Fuji but I will use the Nikon terminology.
Matrix Metering or evaluative metering . This type of metering scheme divides the scene into multiple segments and evaluates each segment for brightness, it then compares these readings to an internal database of possible exposure solutions, then chooses the presumed correct exposure. The majority of times the exposure is very accurate and this mode of metering should be the default choice for the majority of photos.
Spot Metering is typically used in high contrast situations. This type of meter concentrates all of its sensitivity on a central spot for precise metering. For example lets say you attended a concert where the performer is brightly lit but the rest of the stage is dark. Using Matrix metering would probably result in the wrong exposure because it evaluates multiple areas of the scene and would most likely result in a dark image. You would use spot metering because you would just want to meter the brightly lit performer to insure he or she was exposed correctly. Spot metering could also be used for backlit situations where you would be taking a photo of someone with their back to the sun and their face in the shade, you would just meter their face with the central spot.
Center Weighted Metering would be used for scenes that are fairly even in brightness. This type of metering would concentrate most of its sensitivity on the central to bottom portion of the scene, but would not be anywhere near as concentrated as the spot metering mode. It could also come in handy for sunsets where you would want to create silhouettes of a pier or a boat on the water. Most film SLR’s used this type of metering years ago.
Please go out and experiment with the different modes of metering on your camera to become familiar with their characteristics. Put your camera in aperture priority automatic and use the same aperture but take three photos of the same scene (for consistency). Use Evaluative metering for one shot, Spot metering for the next and Center Weighted metering for the final shot. When you upload your images to the computer see if you can tell the difference between the three images and why each one is different.
You don’t waste time by experimenting you gain a better idea of what is happening and why. We are talking digital so there is no need to think you are wasting film.
Sensitivity
I think an explanation of sensitivity is in order by now (don’t worry guys I’m not going to get all emotional on you now). Sensitivity is expressed in ISO and it is adjustable on all cameras. Years ago in the film days this sensitivity was expressed in ASA and in later years ISO. The lower the sensitivity on the film was, the less reactive to light it was. Kodak made a film named Panatomic-X and this film had a ASA of 25. They also made a named Plus-X which was 100 ASA (this film was 4 times as sensitive to light as the Panatomic-X was). Kodak also made a film named Tri-X which was 400 ASA (or again 4 times as sensitive to light as Plus-X). As the speed of the film increased so did the size film grain.
Let me explain, if you wanted to go out and take photos at the beach or a bright sunny day you would probably use the Panatomic-X at 25 ASA. You would not need the higher film speed because you had ample light. If you were going to a concert or a stage performance you would want a film such as Tri-X that was more sensitive to light because of the more dimly lit situation.
ISO works the same as ASA worked on film cameras. The lower the ISO is set the less sensitive your camera’s digital sensor is to light and of course the higher the ISO the more sensitive to light. Being we are not using film we don’t have to worry about film grain when we increase the ISO. We do have to worry about digital noise though which is similar to film grain. The higher you set the ISO the noiser the image will be.
But Joe even if I put my ear really close to the camera I still don’t hear any noise ?
Digital noise is nothing you can hear but you can easily see it in your images, they are less sharp and the colors are muted. If you use your camera in Program Automatic mode the ISO will most likely be set automatically to something higher than you should be using. The best thing you can do is set your camera to the lowest ISO or (default ISO which is most likely 100 or 200 ISO) and leave it there. Some cameras have very good high ISO performance but they are the higher end models and not the starter or beginner cameras. Take your cameras out of Program mode and go through your menus and turn off auto ISO unless you have a high end model. If you want to see how high ISO can degrade the image quality do the following experiment. Set your camera to ISO 200 and go outside and take a photo of an object in the shade. Then change your ISO to 6400 or the highest it will go and take the same photo of the object in the shade. Compare the two on a computer and let me know which photo you like better.
I know this installment of the lessons is not as easy to understand as the previous three posts. This is why I saved it until today, so I could lure you into being interested in these posts, Moo Ha Ha ! It was not intended to teach you how you should take photos but more to inform you why your camera has different metering modes and when you should use them. If you have any questions please contact me and I will answer to the best of my ability.