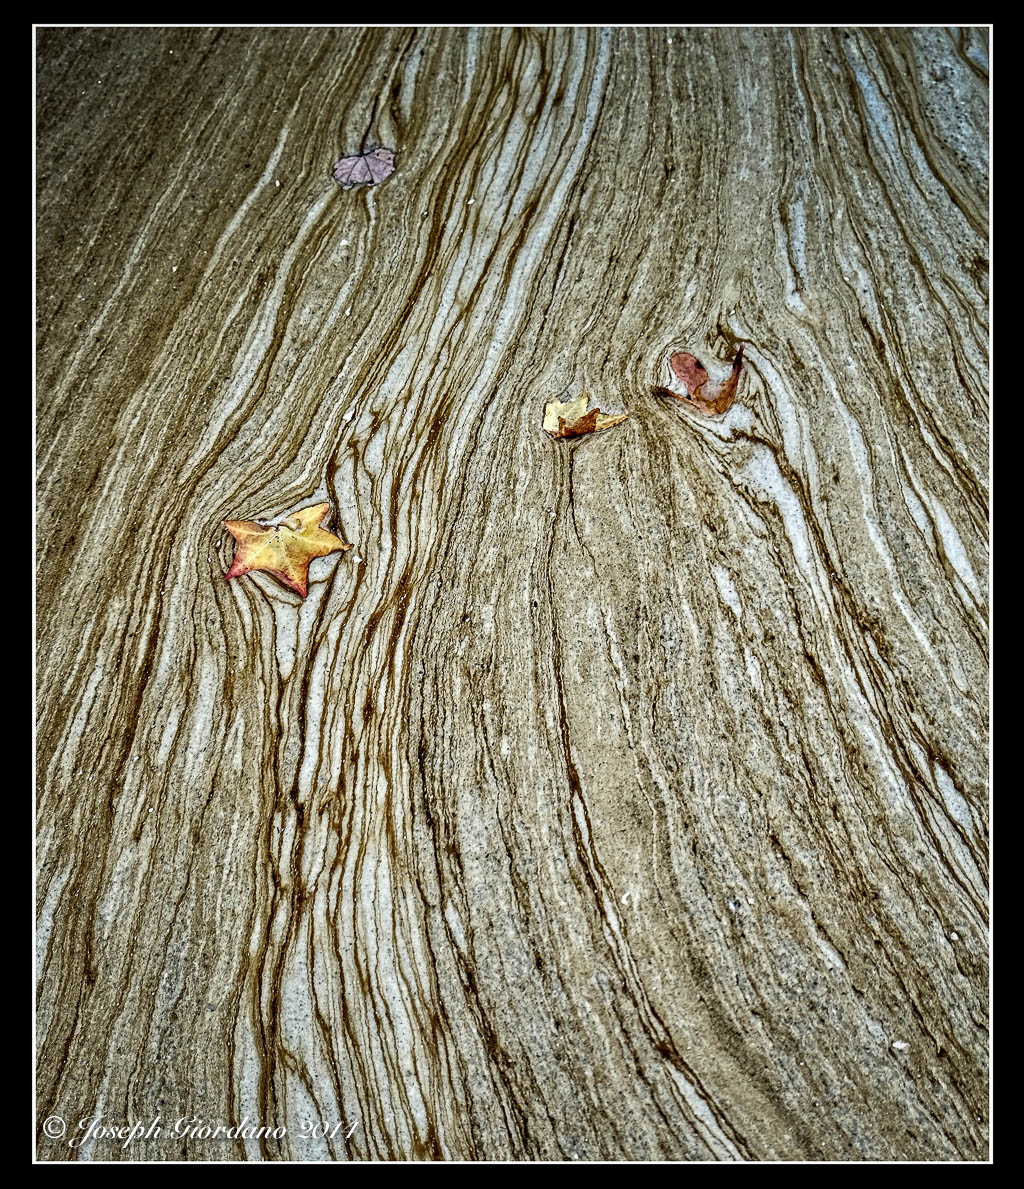
Fujifilm X30 – 1/1000 @ f/3.2 – ISO 100 – macro mode
Just thinking of a line from the movie “Risky Business !
Fujifilm X30 – 1/1000 @ f/3.2 – ISO 100 – macro mode
Just thinking of a line from the movie “Risky Business !
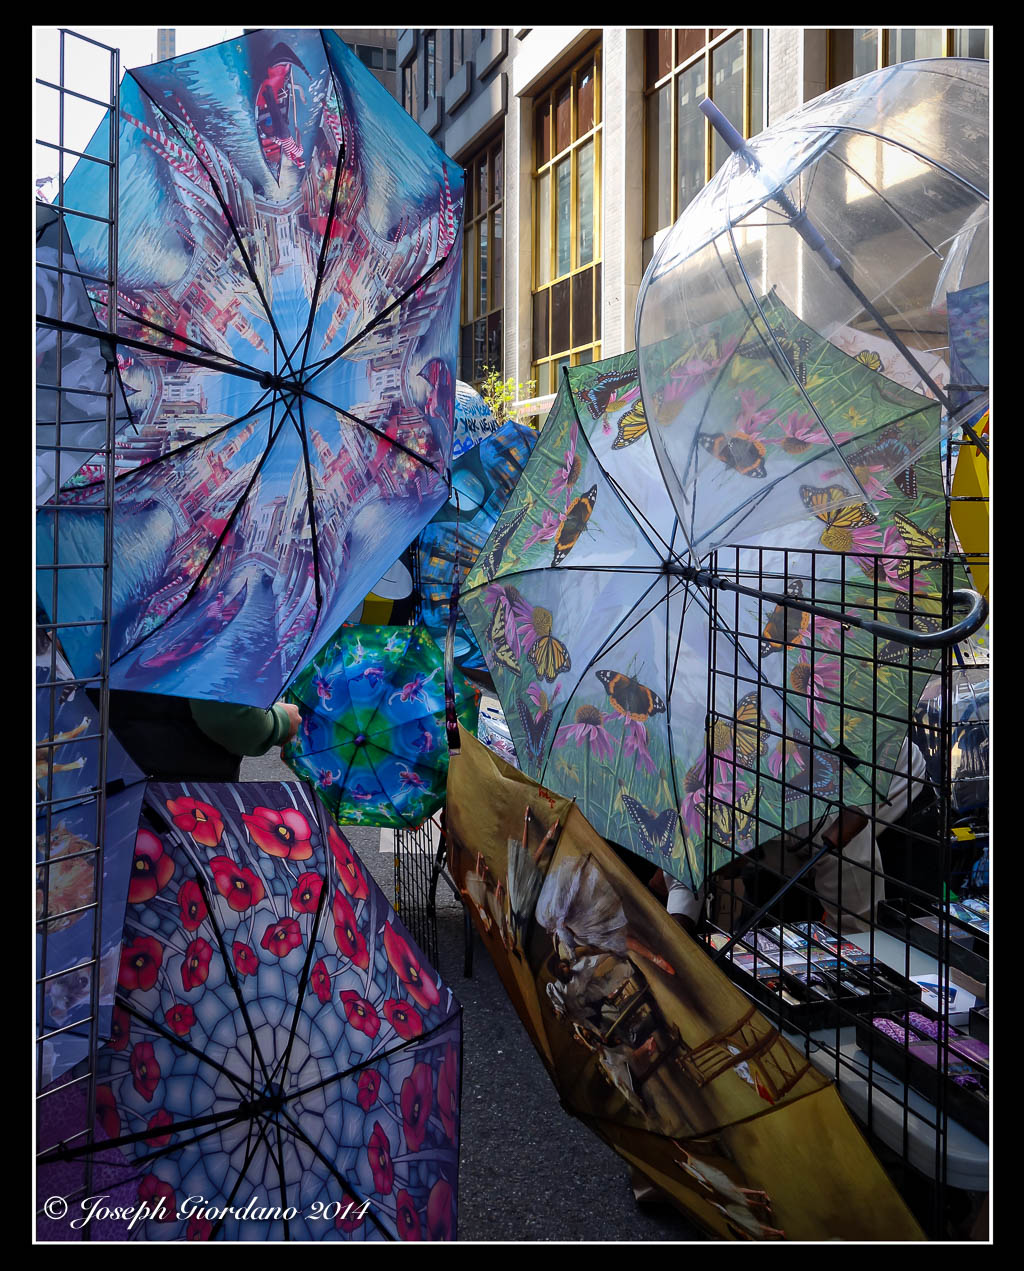
Fuji X-E2 and Fuji XF 18-55 R OIS lens – 1/55 @ f/5.6 – ISO 200
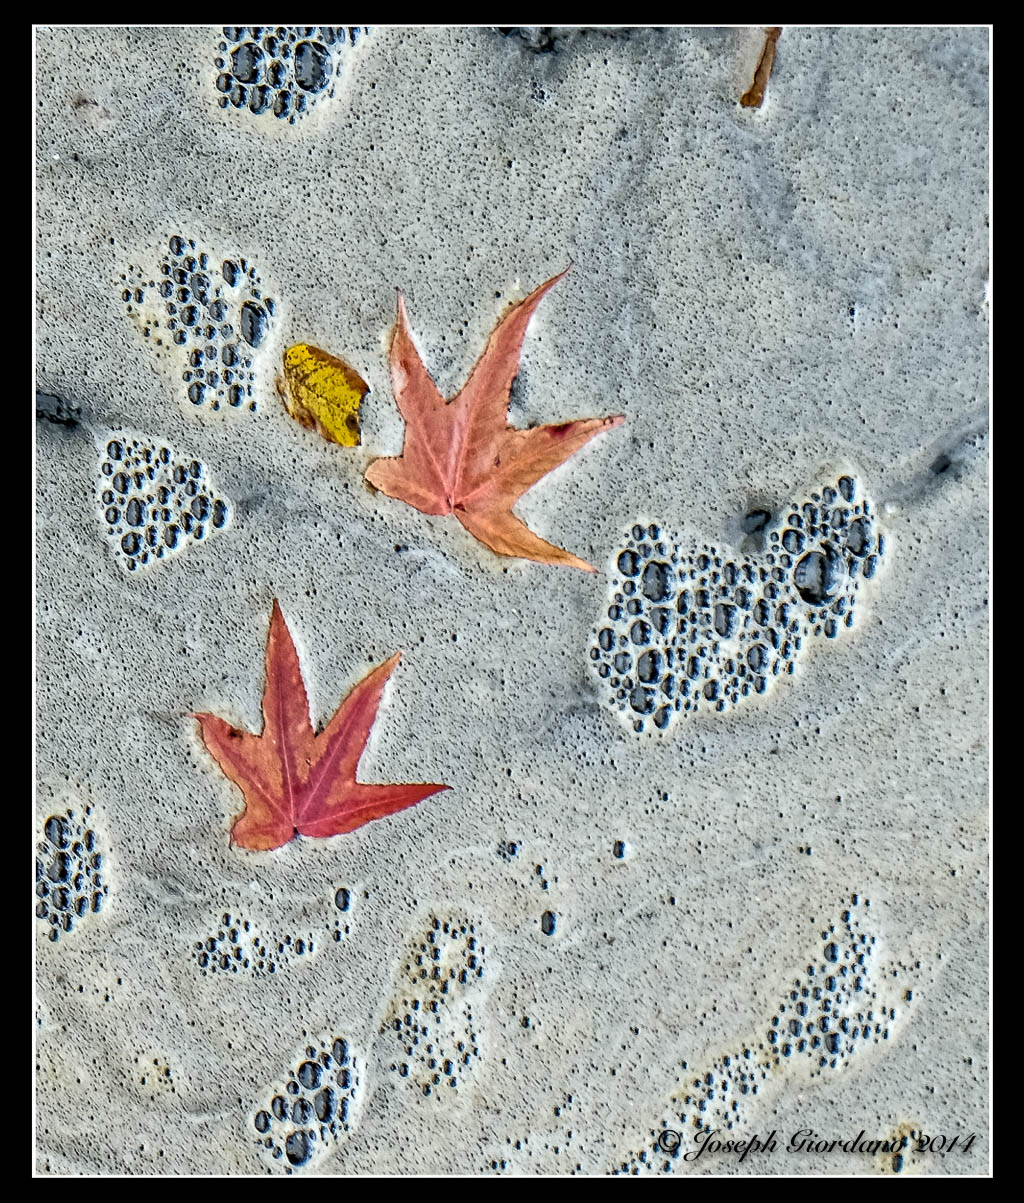
Fuji X-E2 and Fuji XF 18-55mm R OIS lens – 1/40 @ f/5.6 – ISO 200
Here are a couple of leaves trapped in some sort of pond slime :)
Please visit my other photoblog – X-tended Vision
Han and I got into an online discussion about entitlements (I don’t know how they call Social Security an entitlement being I paid for it my whole life). This is what he posted today, LOL. Thank you for the post Han, your humor is always appreciated. Holy crap is that Zamfir ?

More of my images can be seen at X-tended Vision

Fujifilm X30 – 1/1000 @ f/3.2 – ISO 100
From the angle I was shooting this from it looked like she was going to run right into that tree. Believe it or not this is December 27th and the temperature on Long Island is sunny and 51 degrees Fahrenheit. When I reviewed this image on the computer I noticed there was an Opticians sign above her so I thought the title of the photo was appropriate.

Sony RX100 – 1/250 @ f/5.6
“This little pigs house was made of wood”
Merry Christmas and Happy Holidays to all :)